Building the Studio - Part 3
Ok I know, I’ve left you hanging for too long, but I’m back baby! Hope you all had a good Christmas and New Year and you’re enjoying life as much as you can in these trying times. We’ve managed to get a lot done in the studio since I last posted. In fact I’m typing this from the studio, that’s how close to finished it is. So how did we get from the last Building the Studio Post to here? Well I’ll tell you.
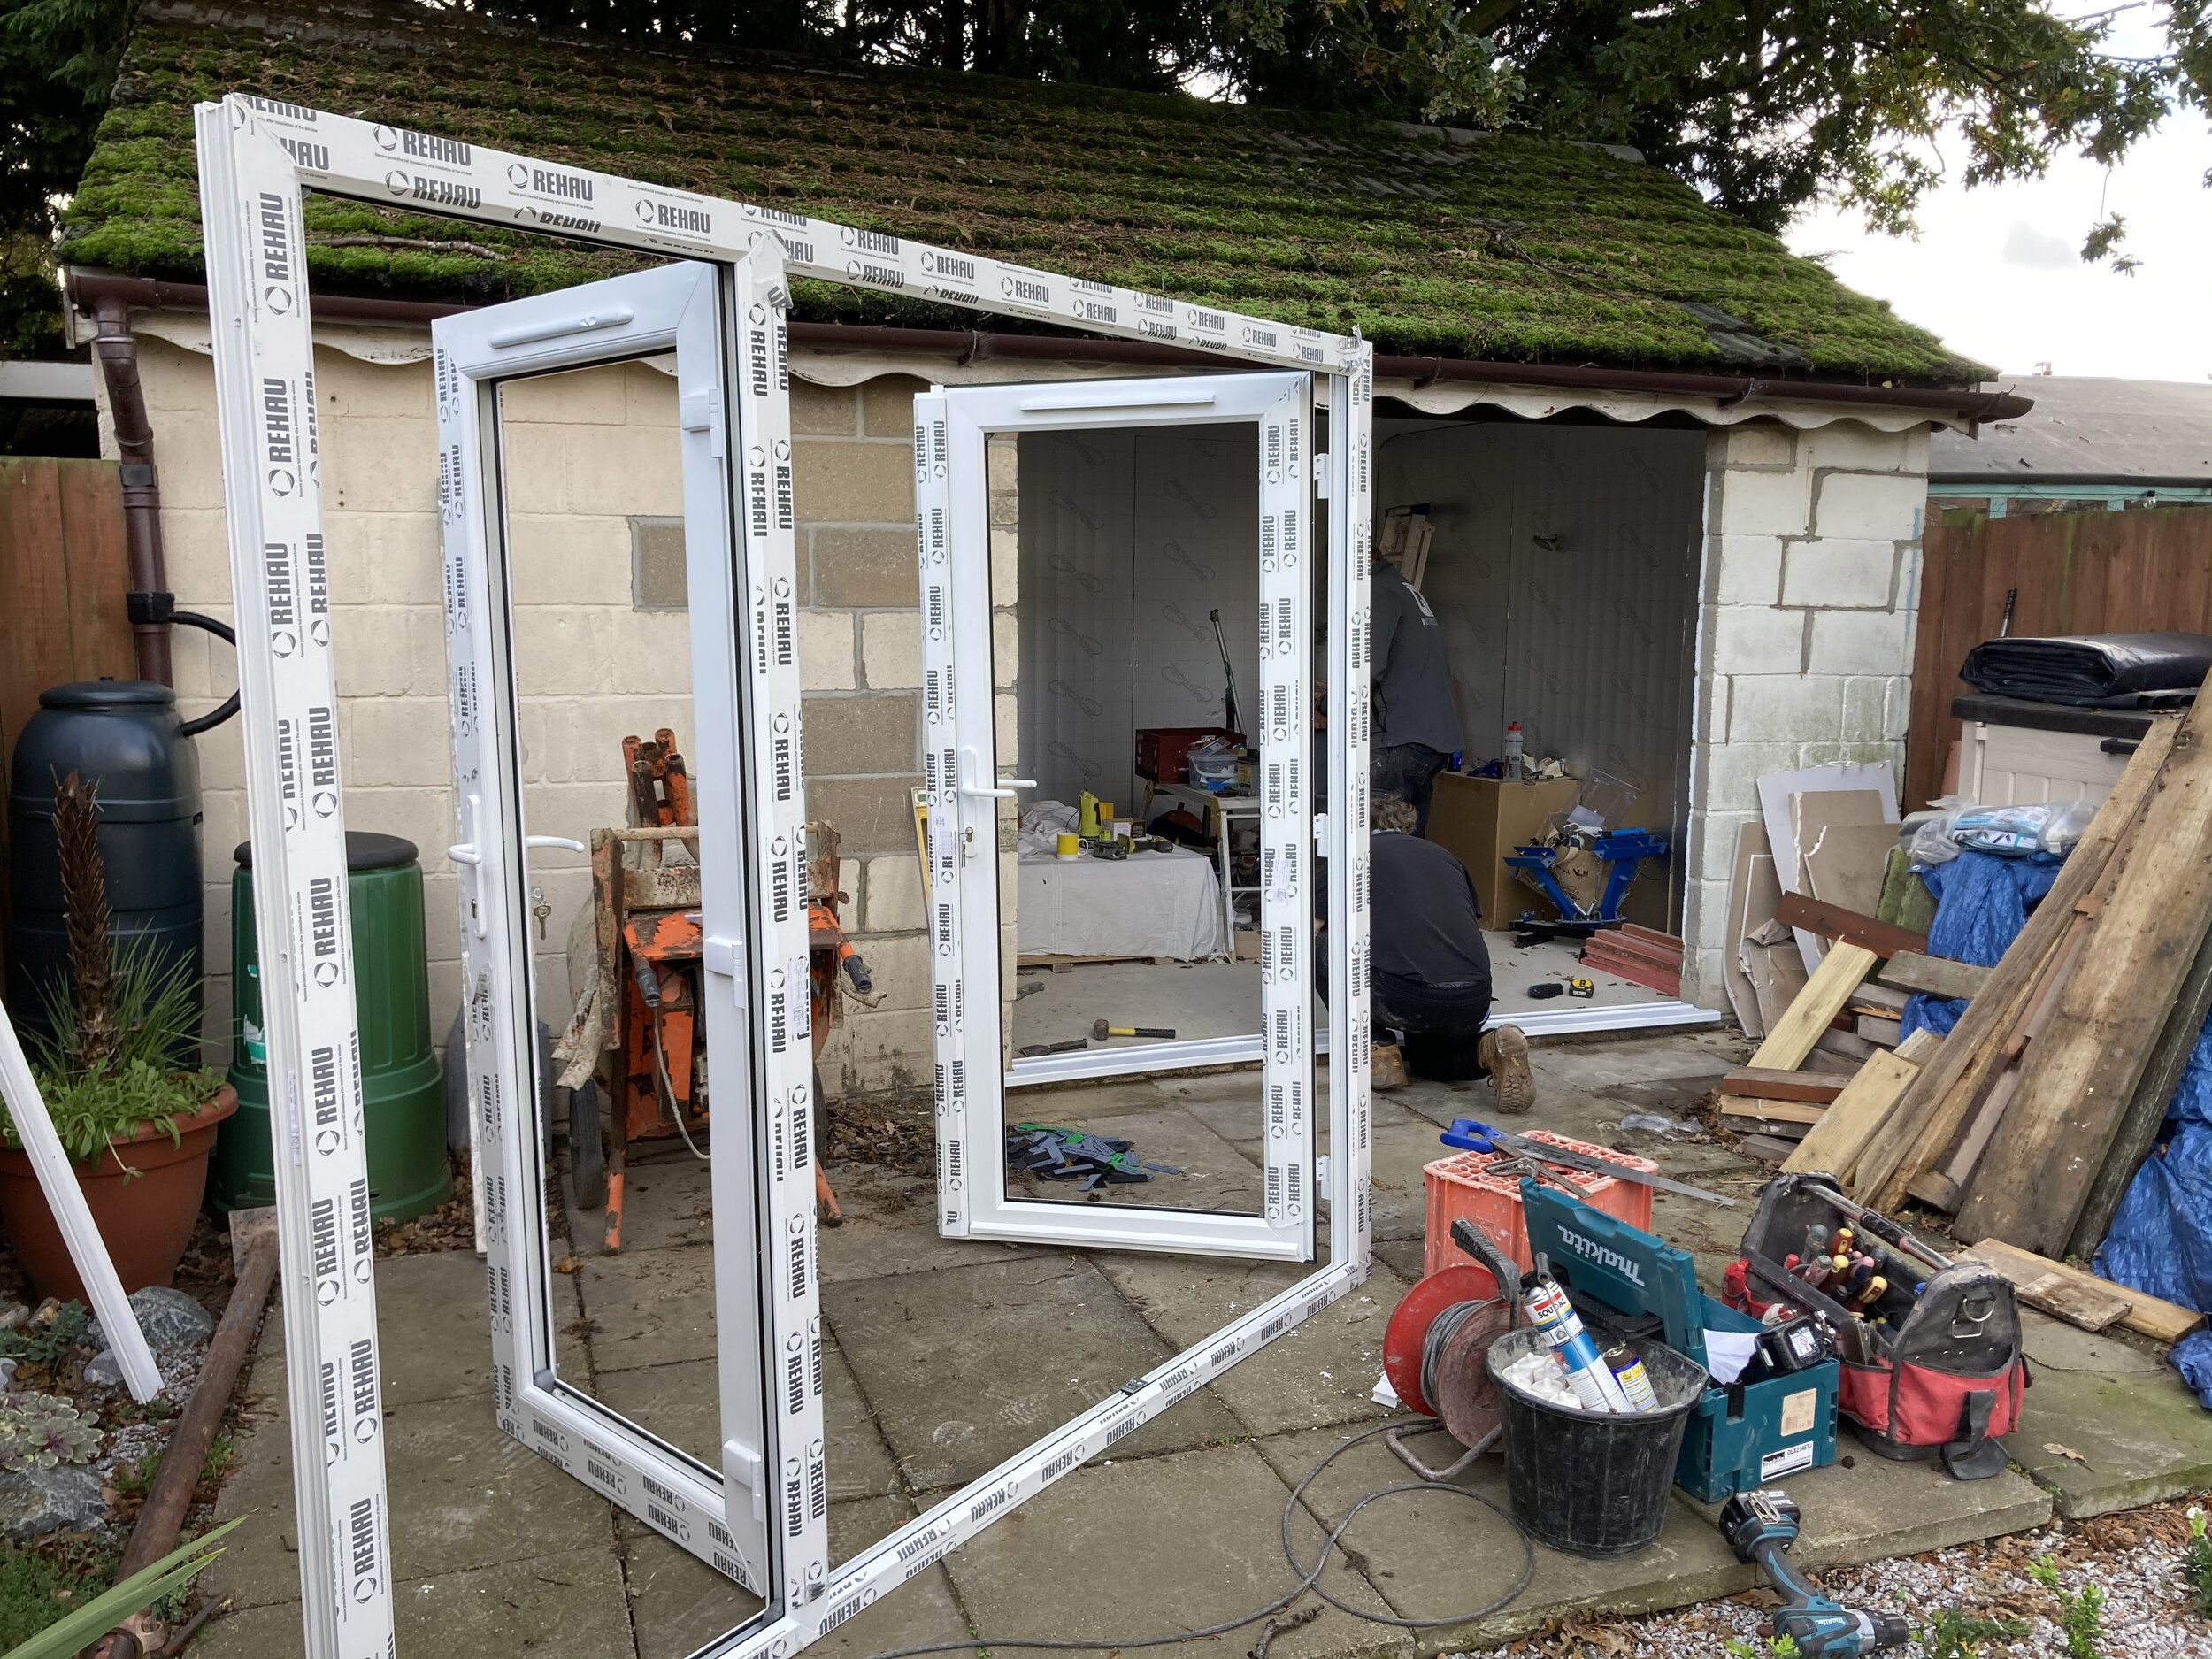
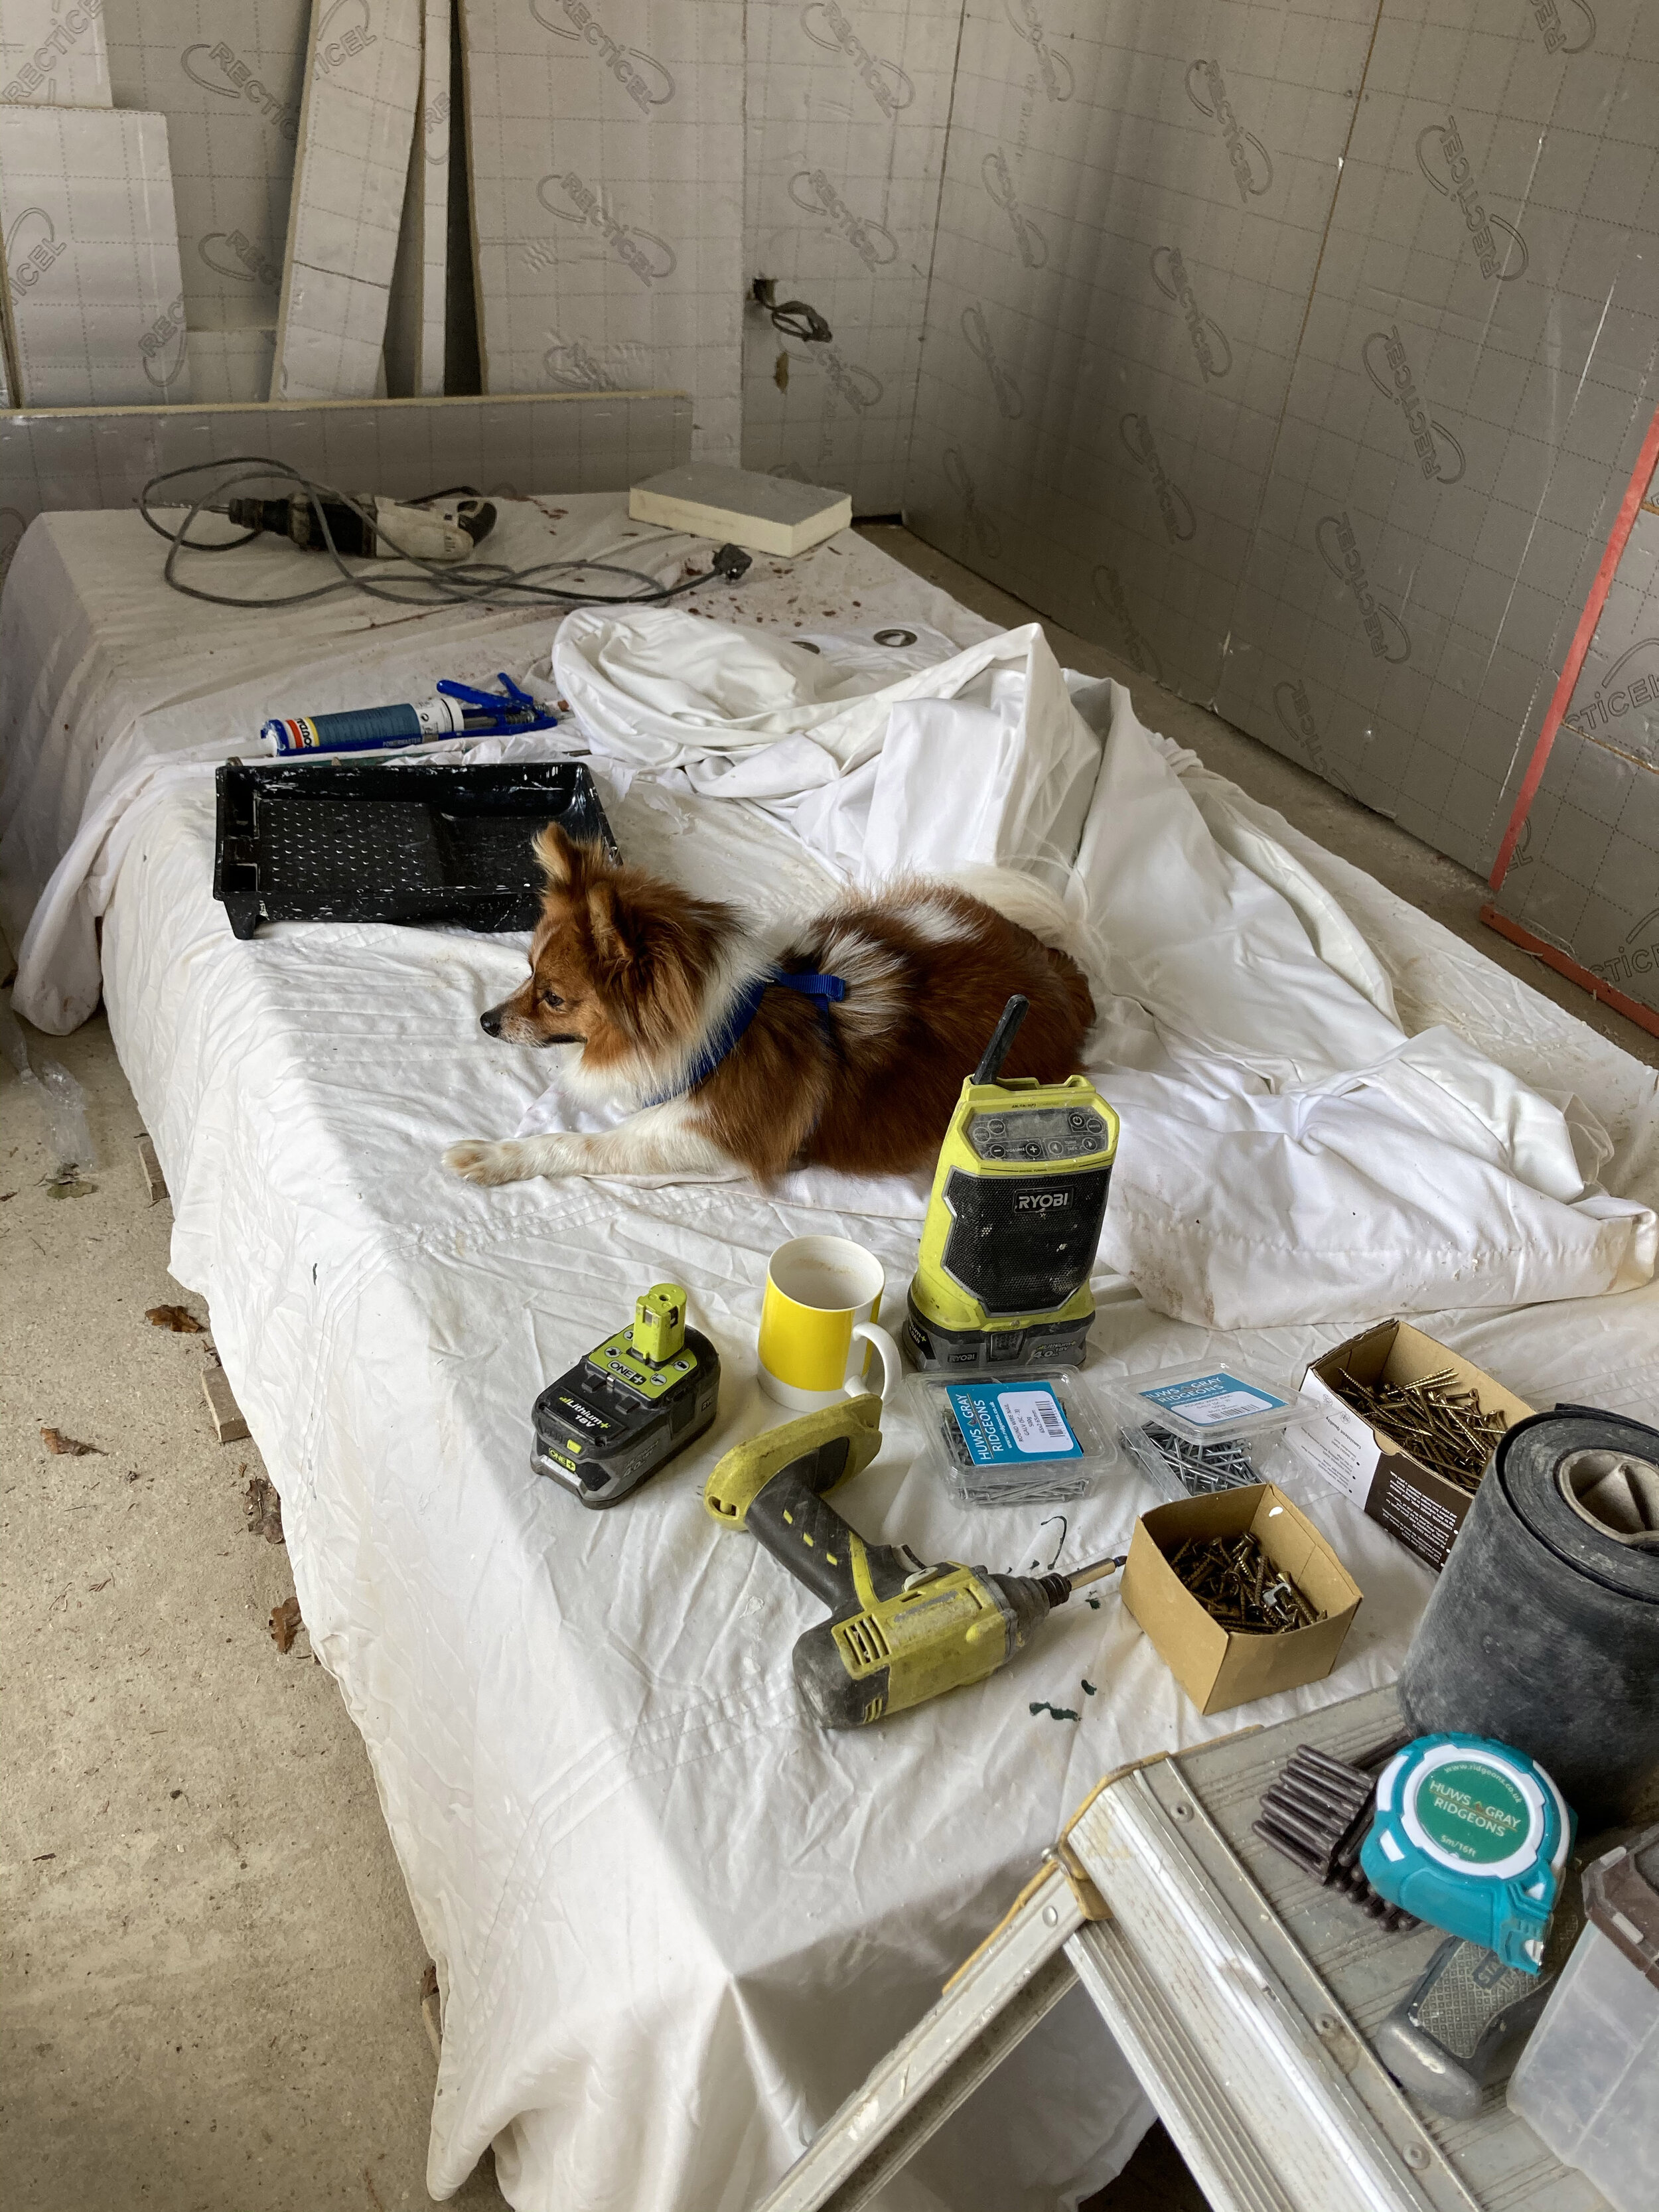
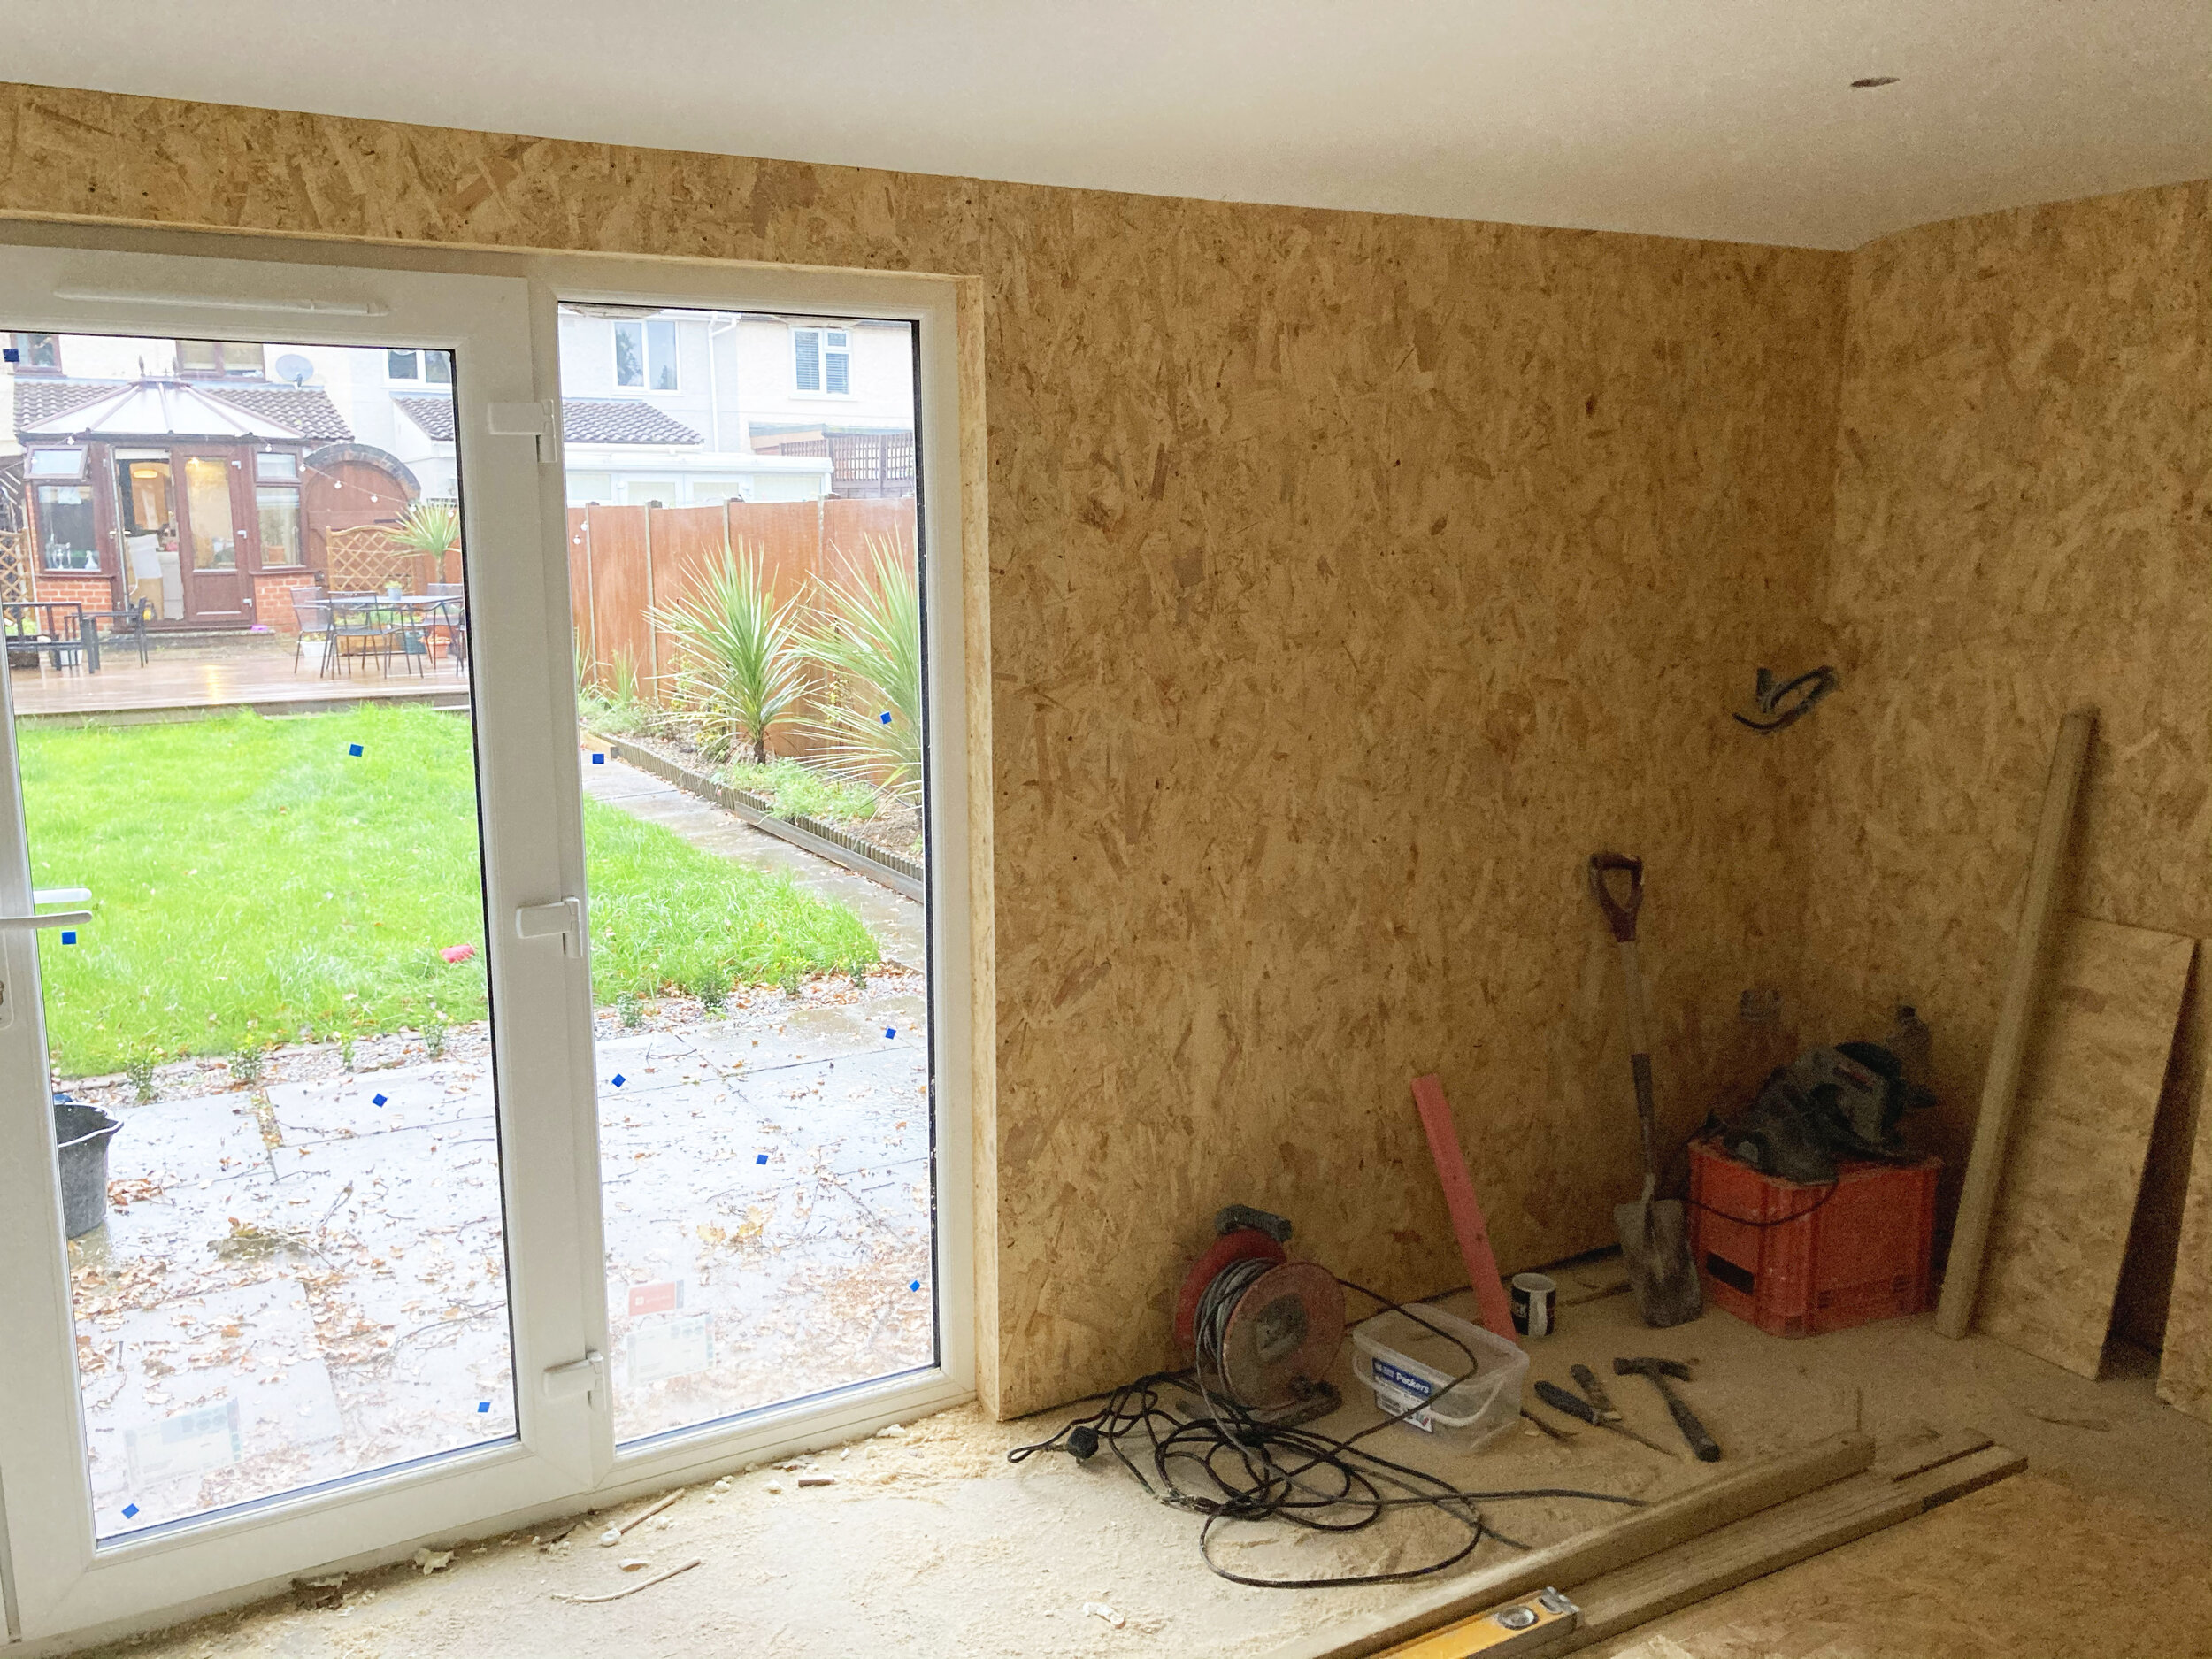
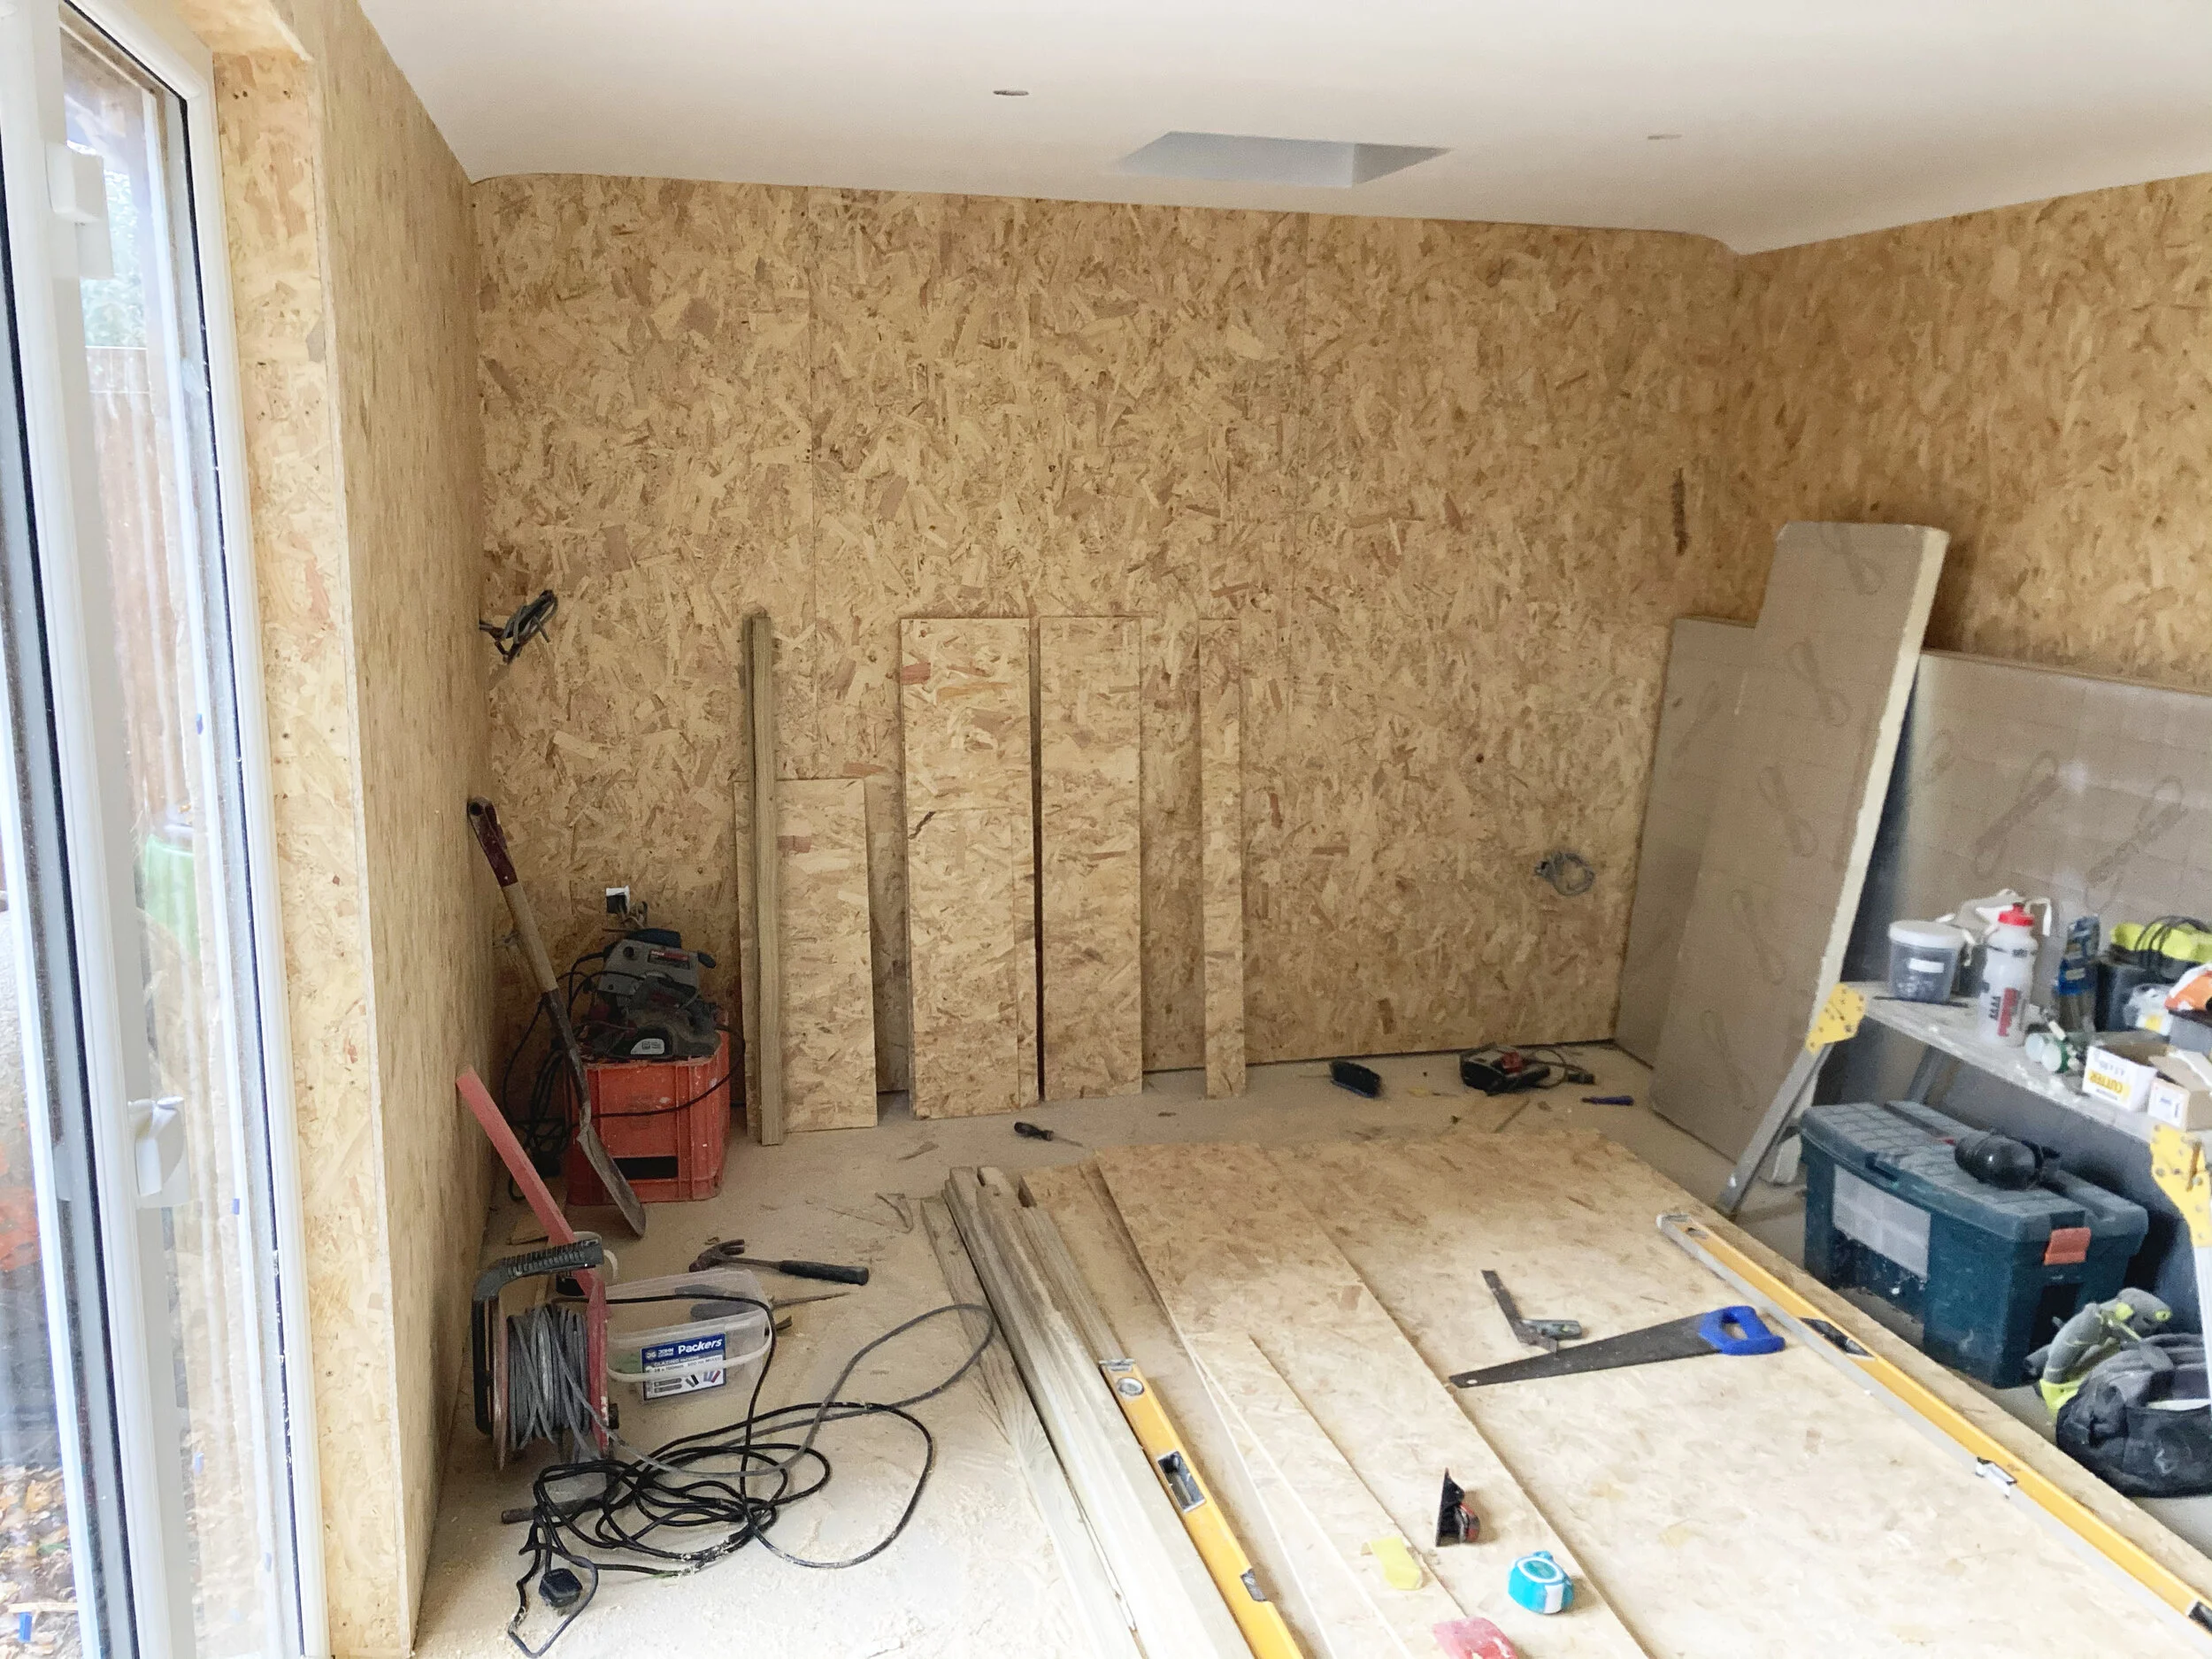
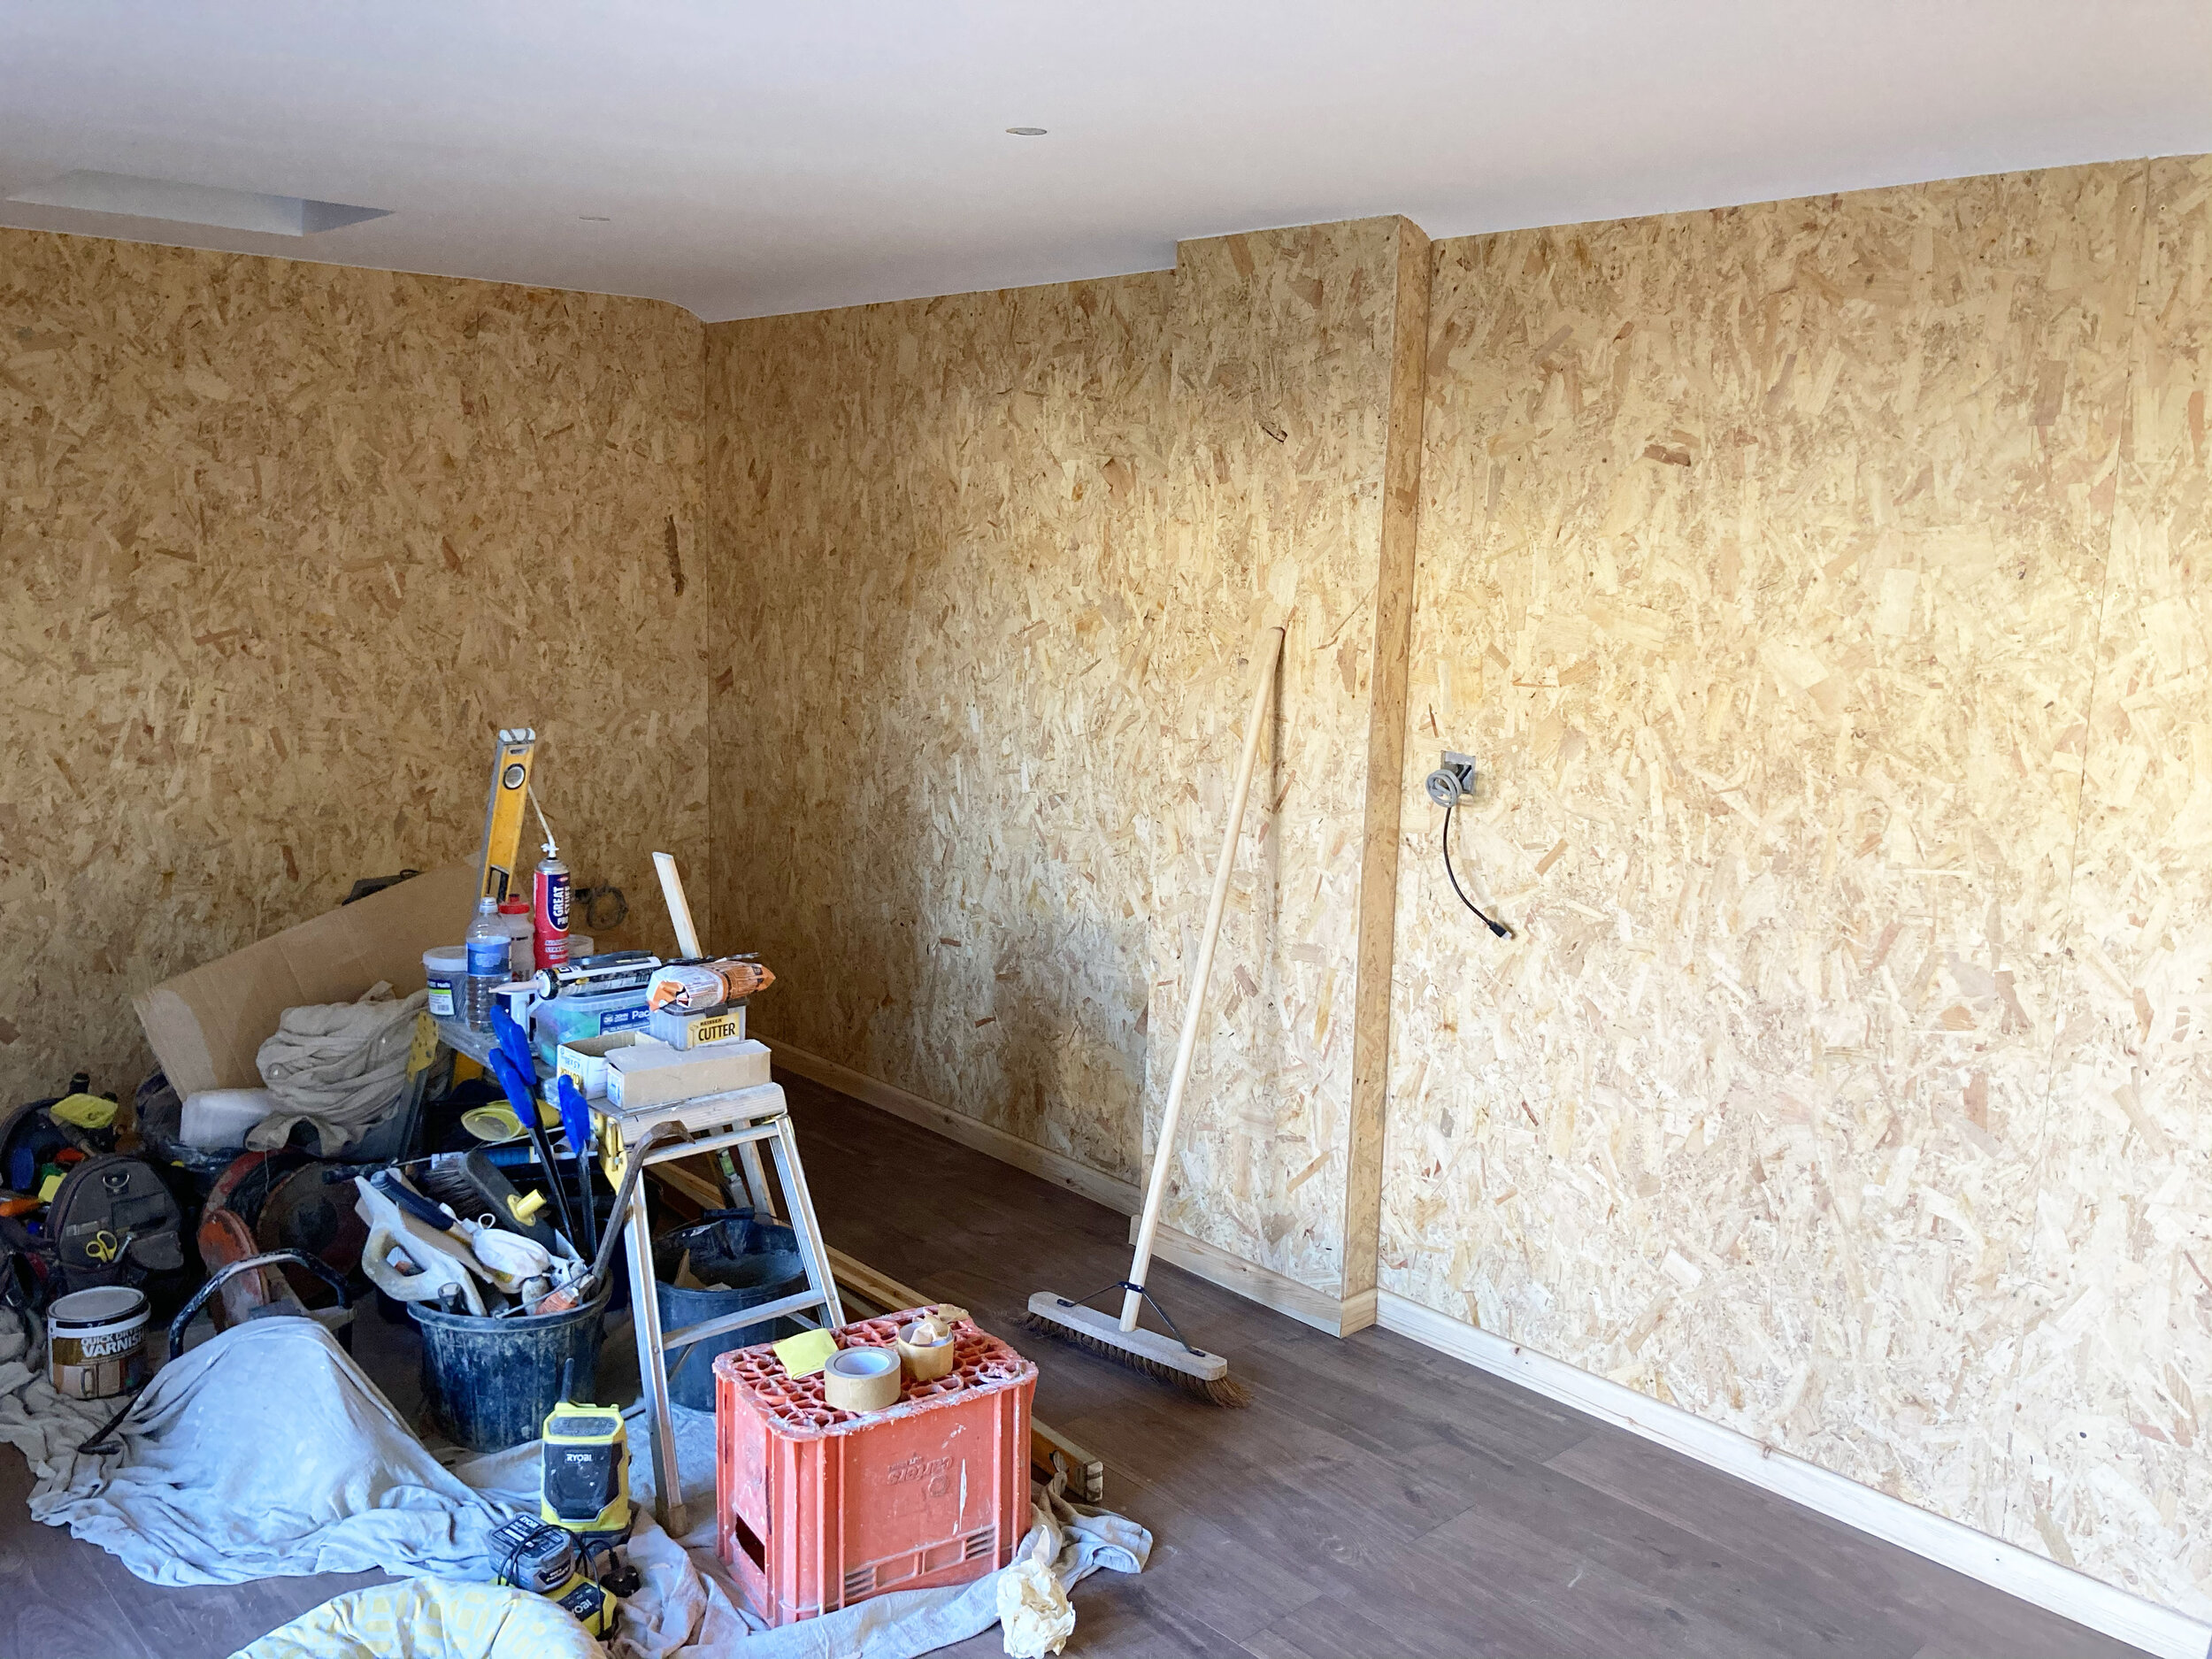
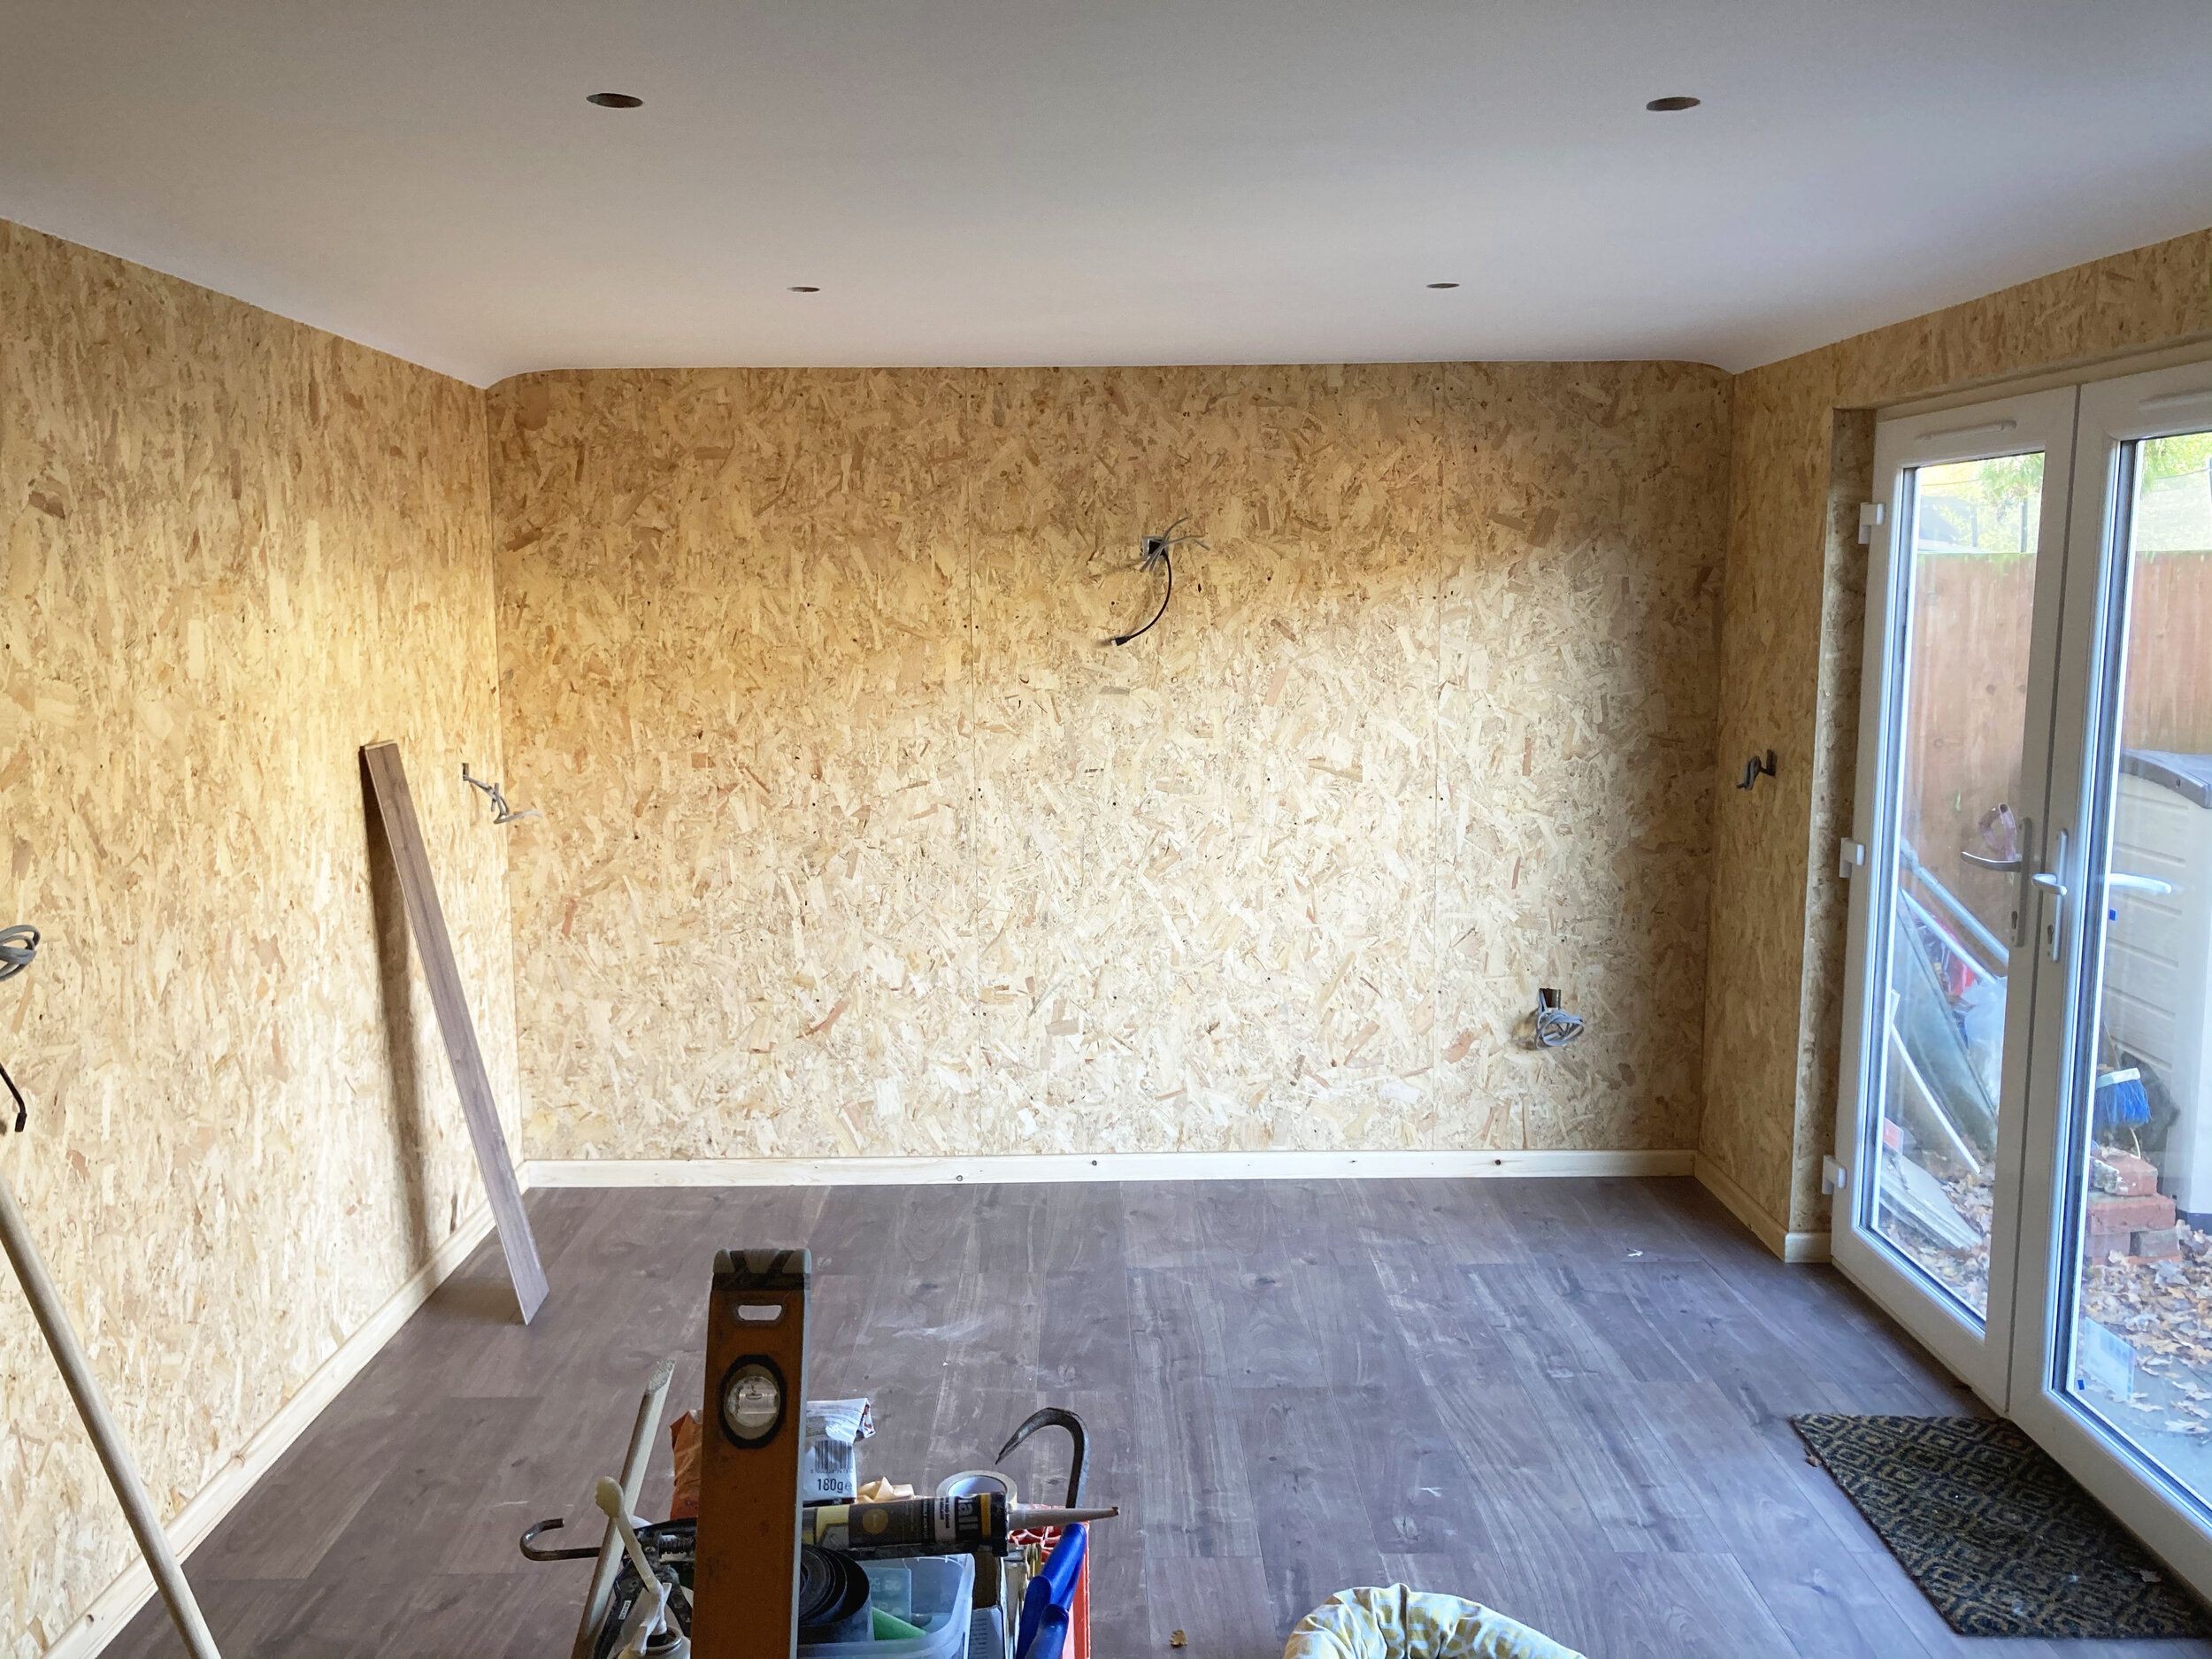
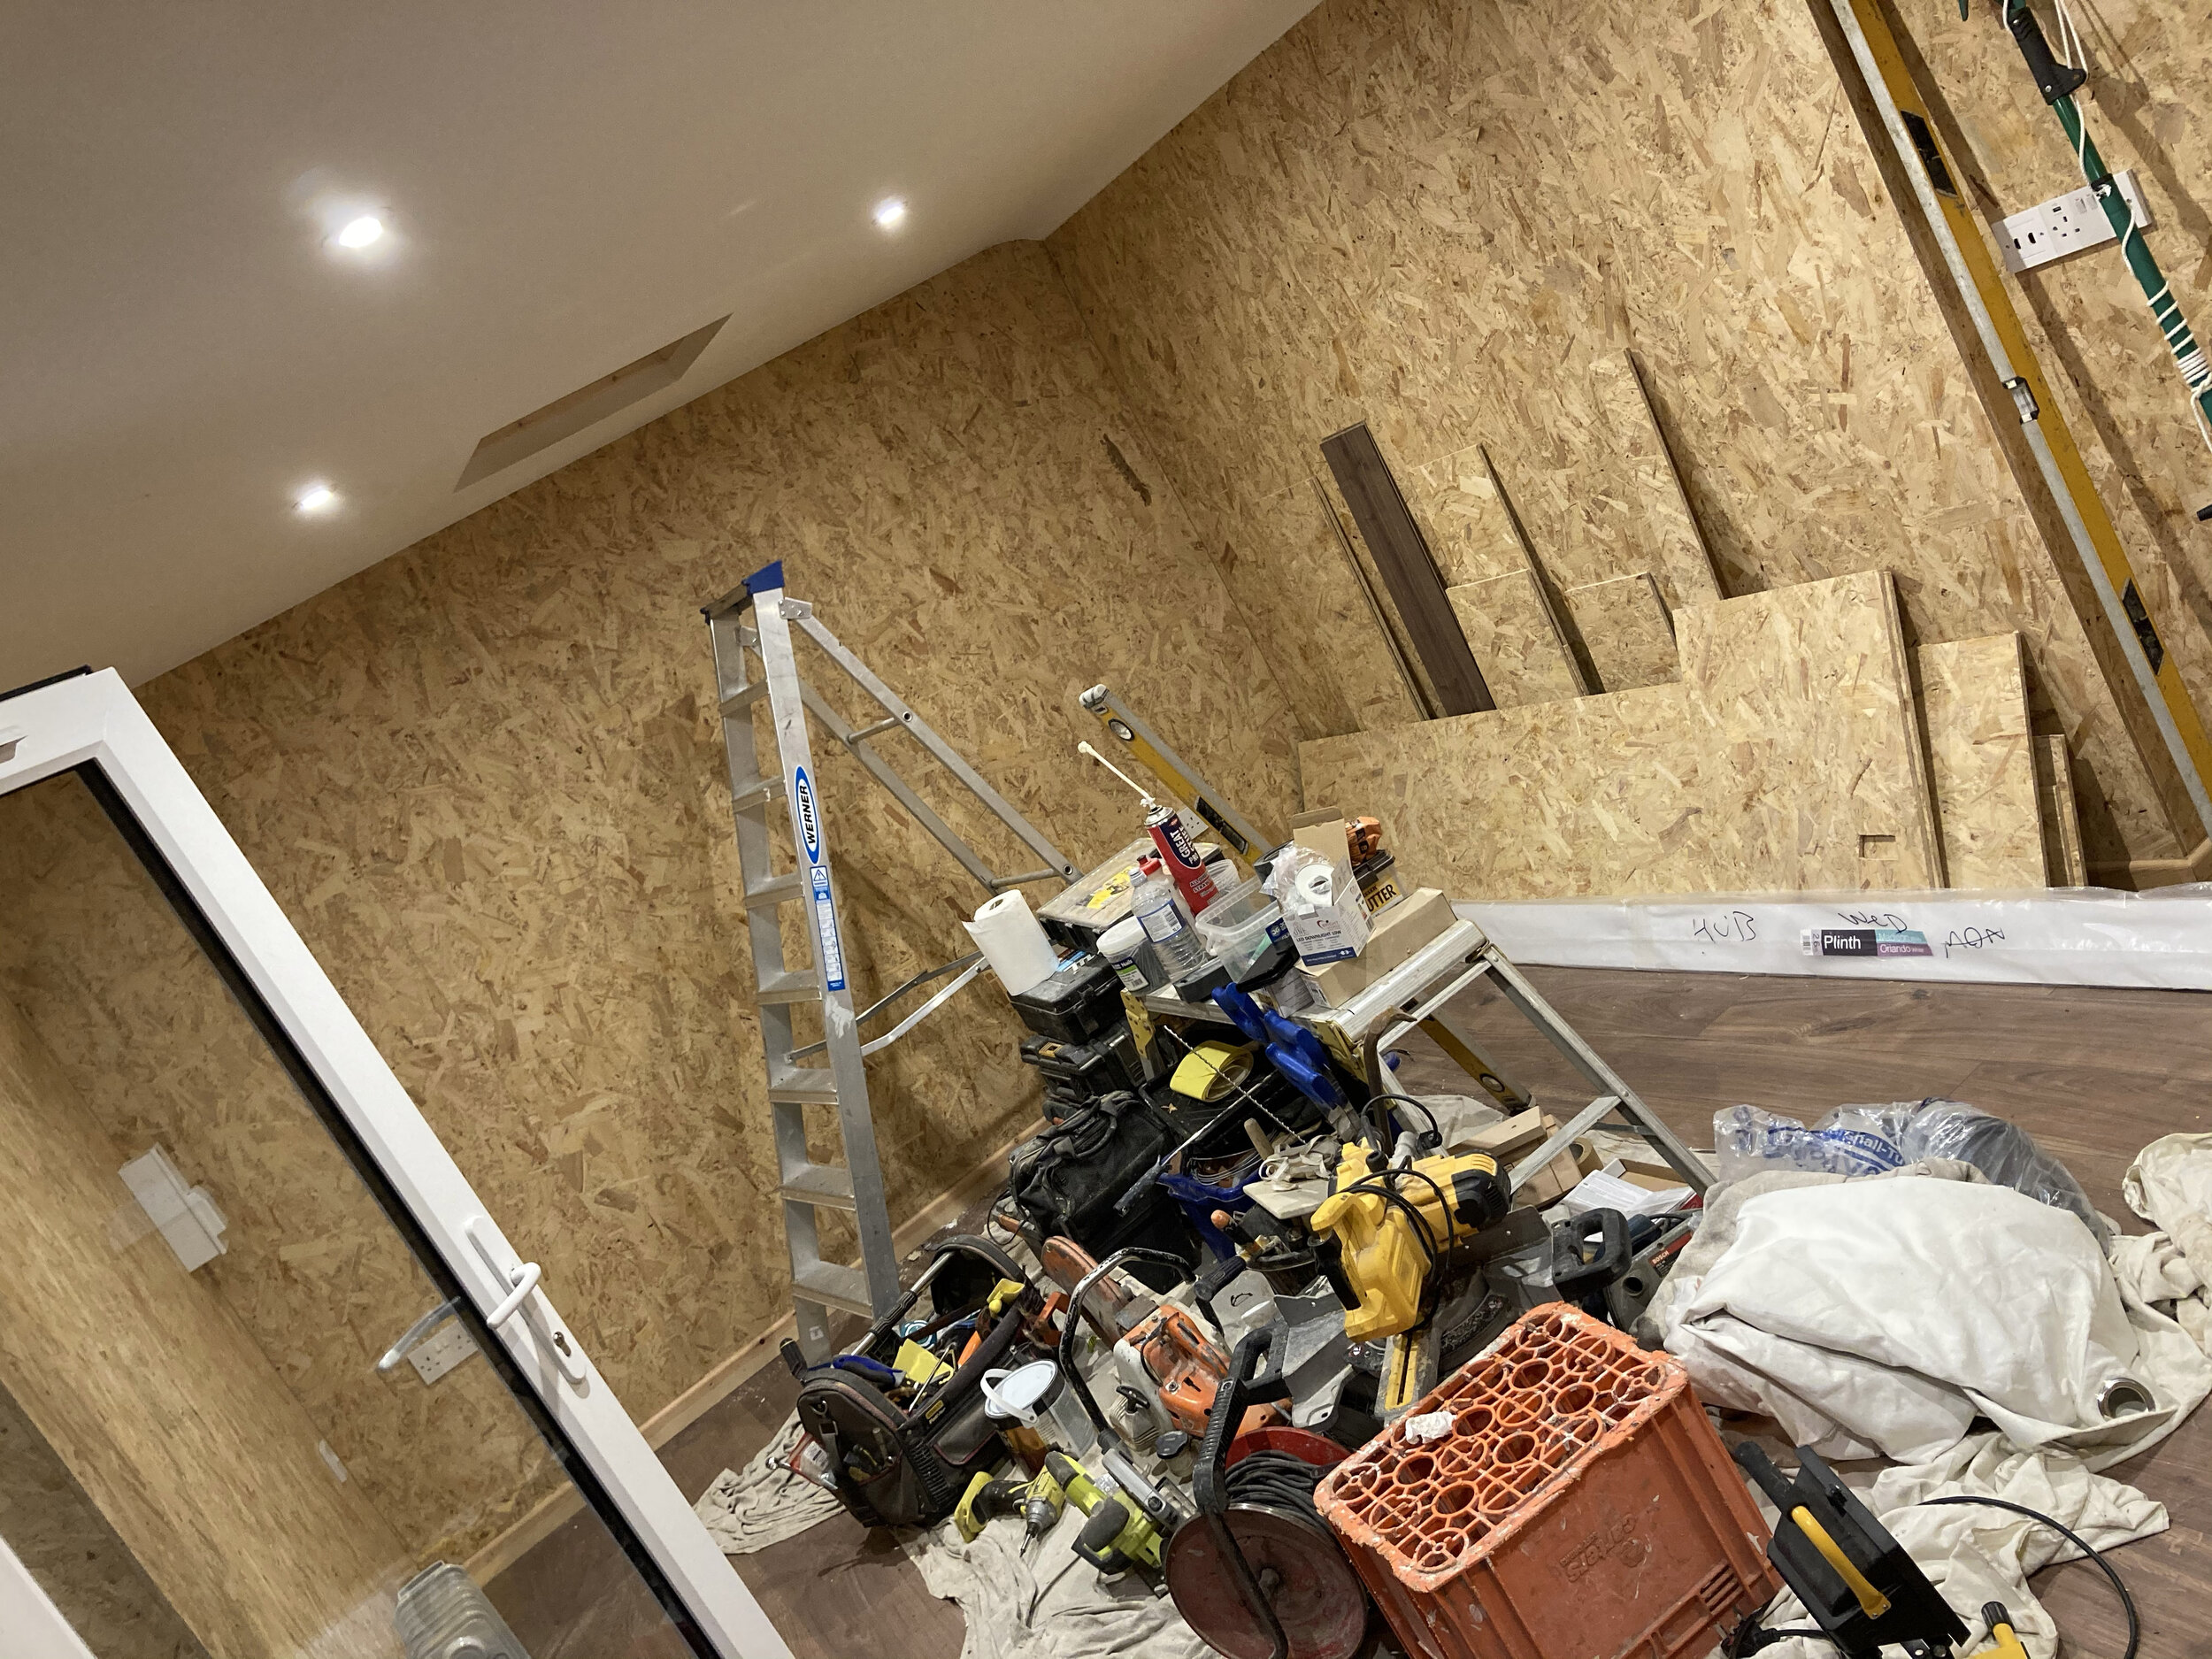
The new doors/windows turned up the week after the last post and got installed promptly. A big thanks to my uncle Steven and of course my old man, Raymondo, for their help with this task. Once they were in, our attentions turned to kitting the walls out. Batons were applied to the brick work, a layer of insulation was then added and sheets of OSB board were then affixed on top for the finishing touch. I wanted something a little different that aligned with the brand I’ve built thus far and I the OSB finish definitely gave me that. Obviously the dog helped as much as he could.
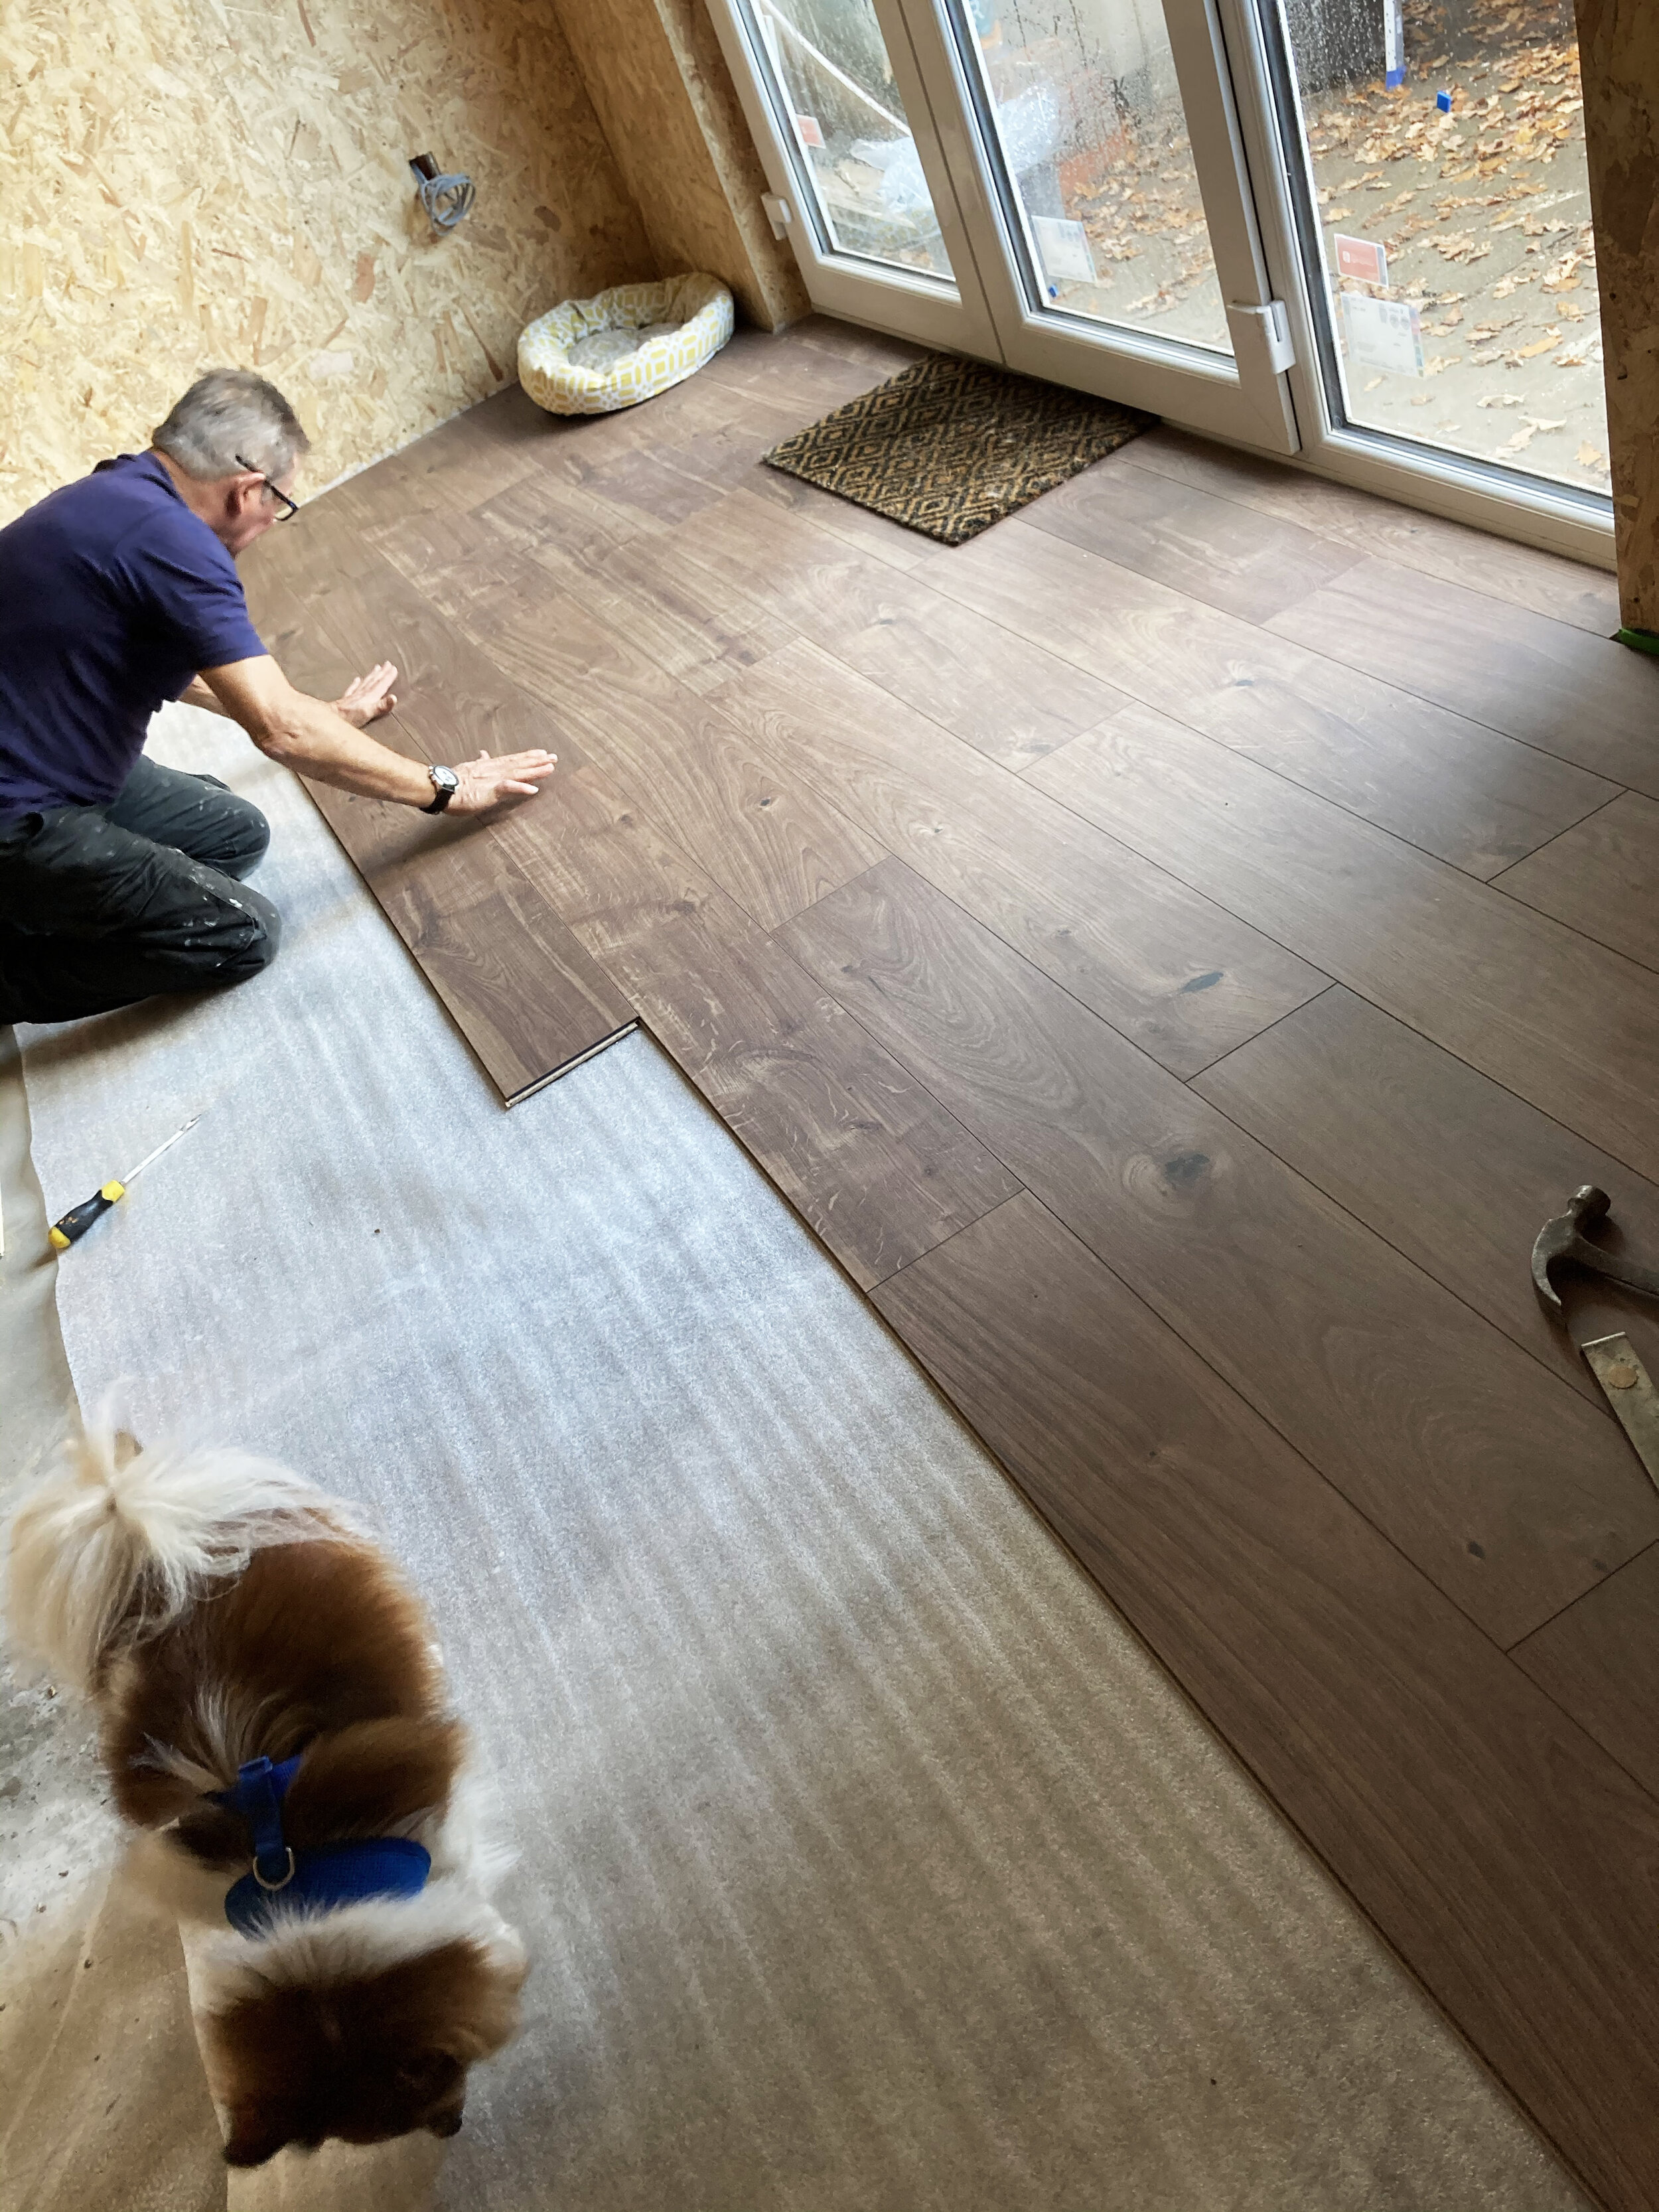
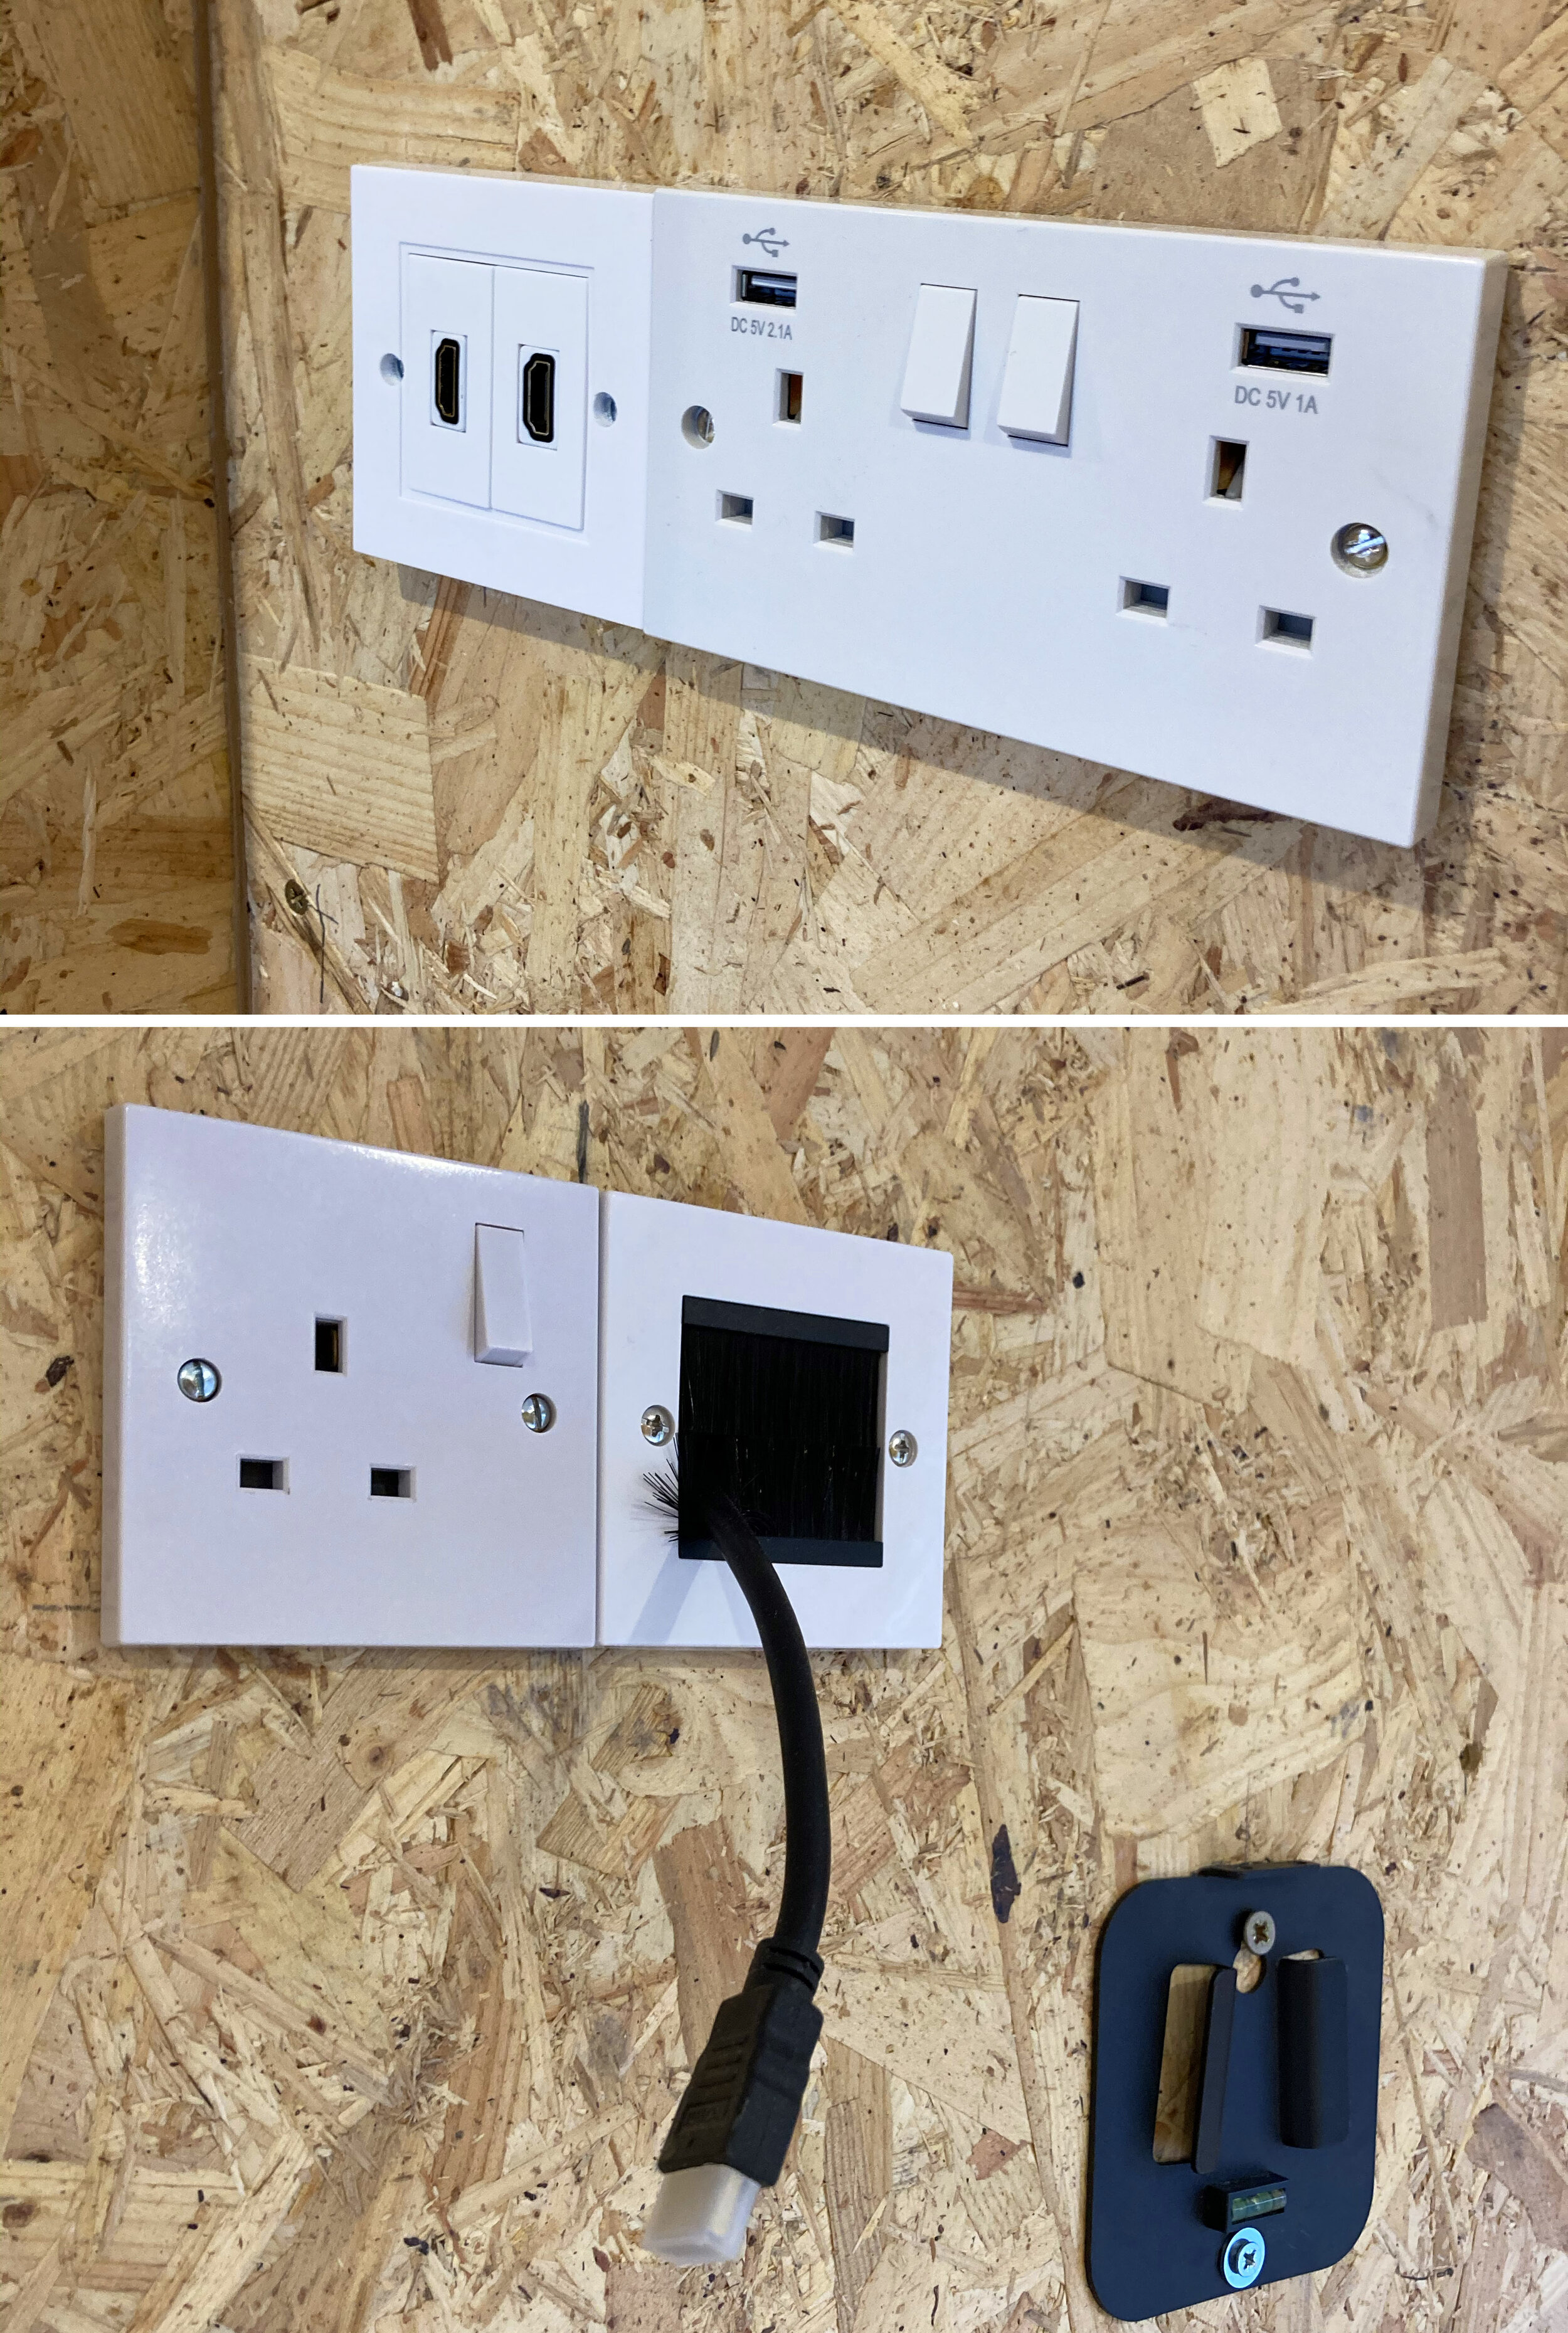
I decided to go for a good quality laminate for the floor so I drafted in Kieran at Jessett Building Services to put down some self levelling compound and then we set to work fitting the laminate jigsaw to the concrete base. With the flooring down we then applied some skirting board and the the inner shell of the studio was complete and I could finally picture the finished layout and how it was all going to look. Then, with second visit from the boys at Jarvis Electrical, we had lights, sockets and some crafty HDMI ports to create an AV ready workshop.
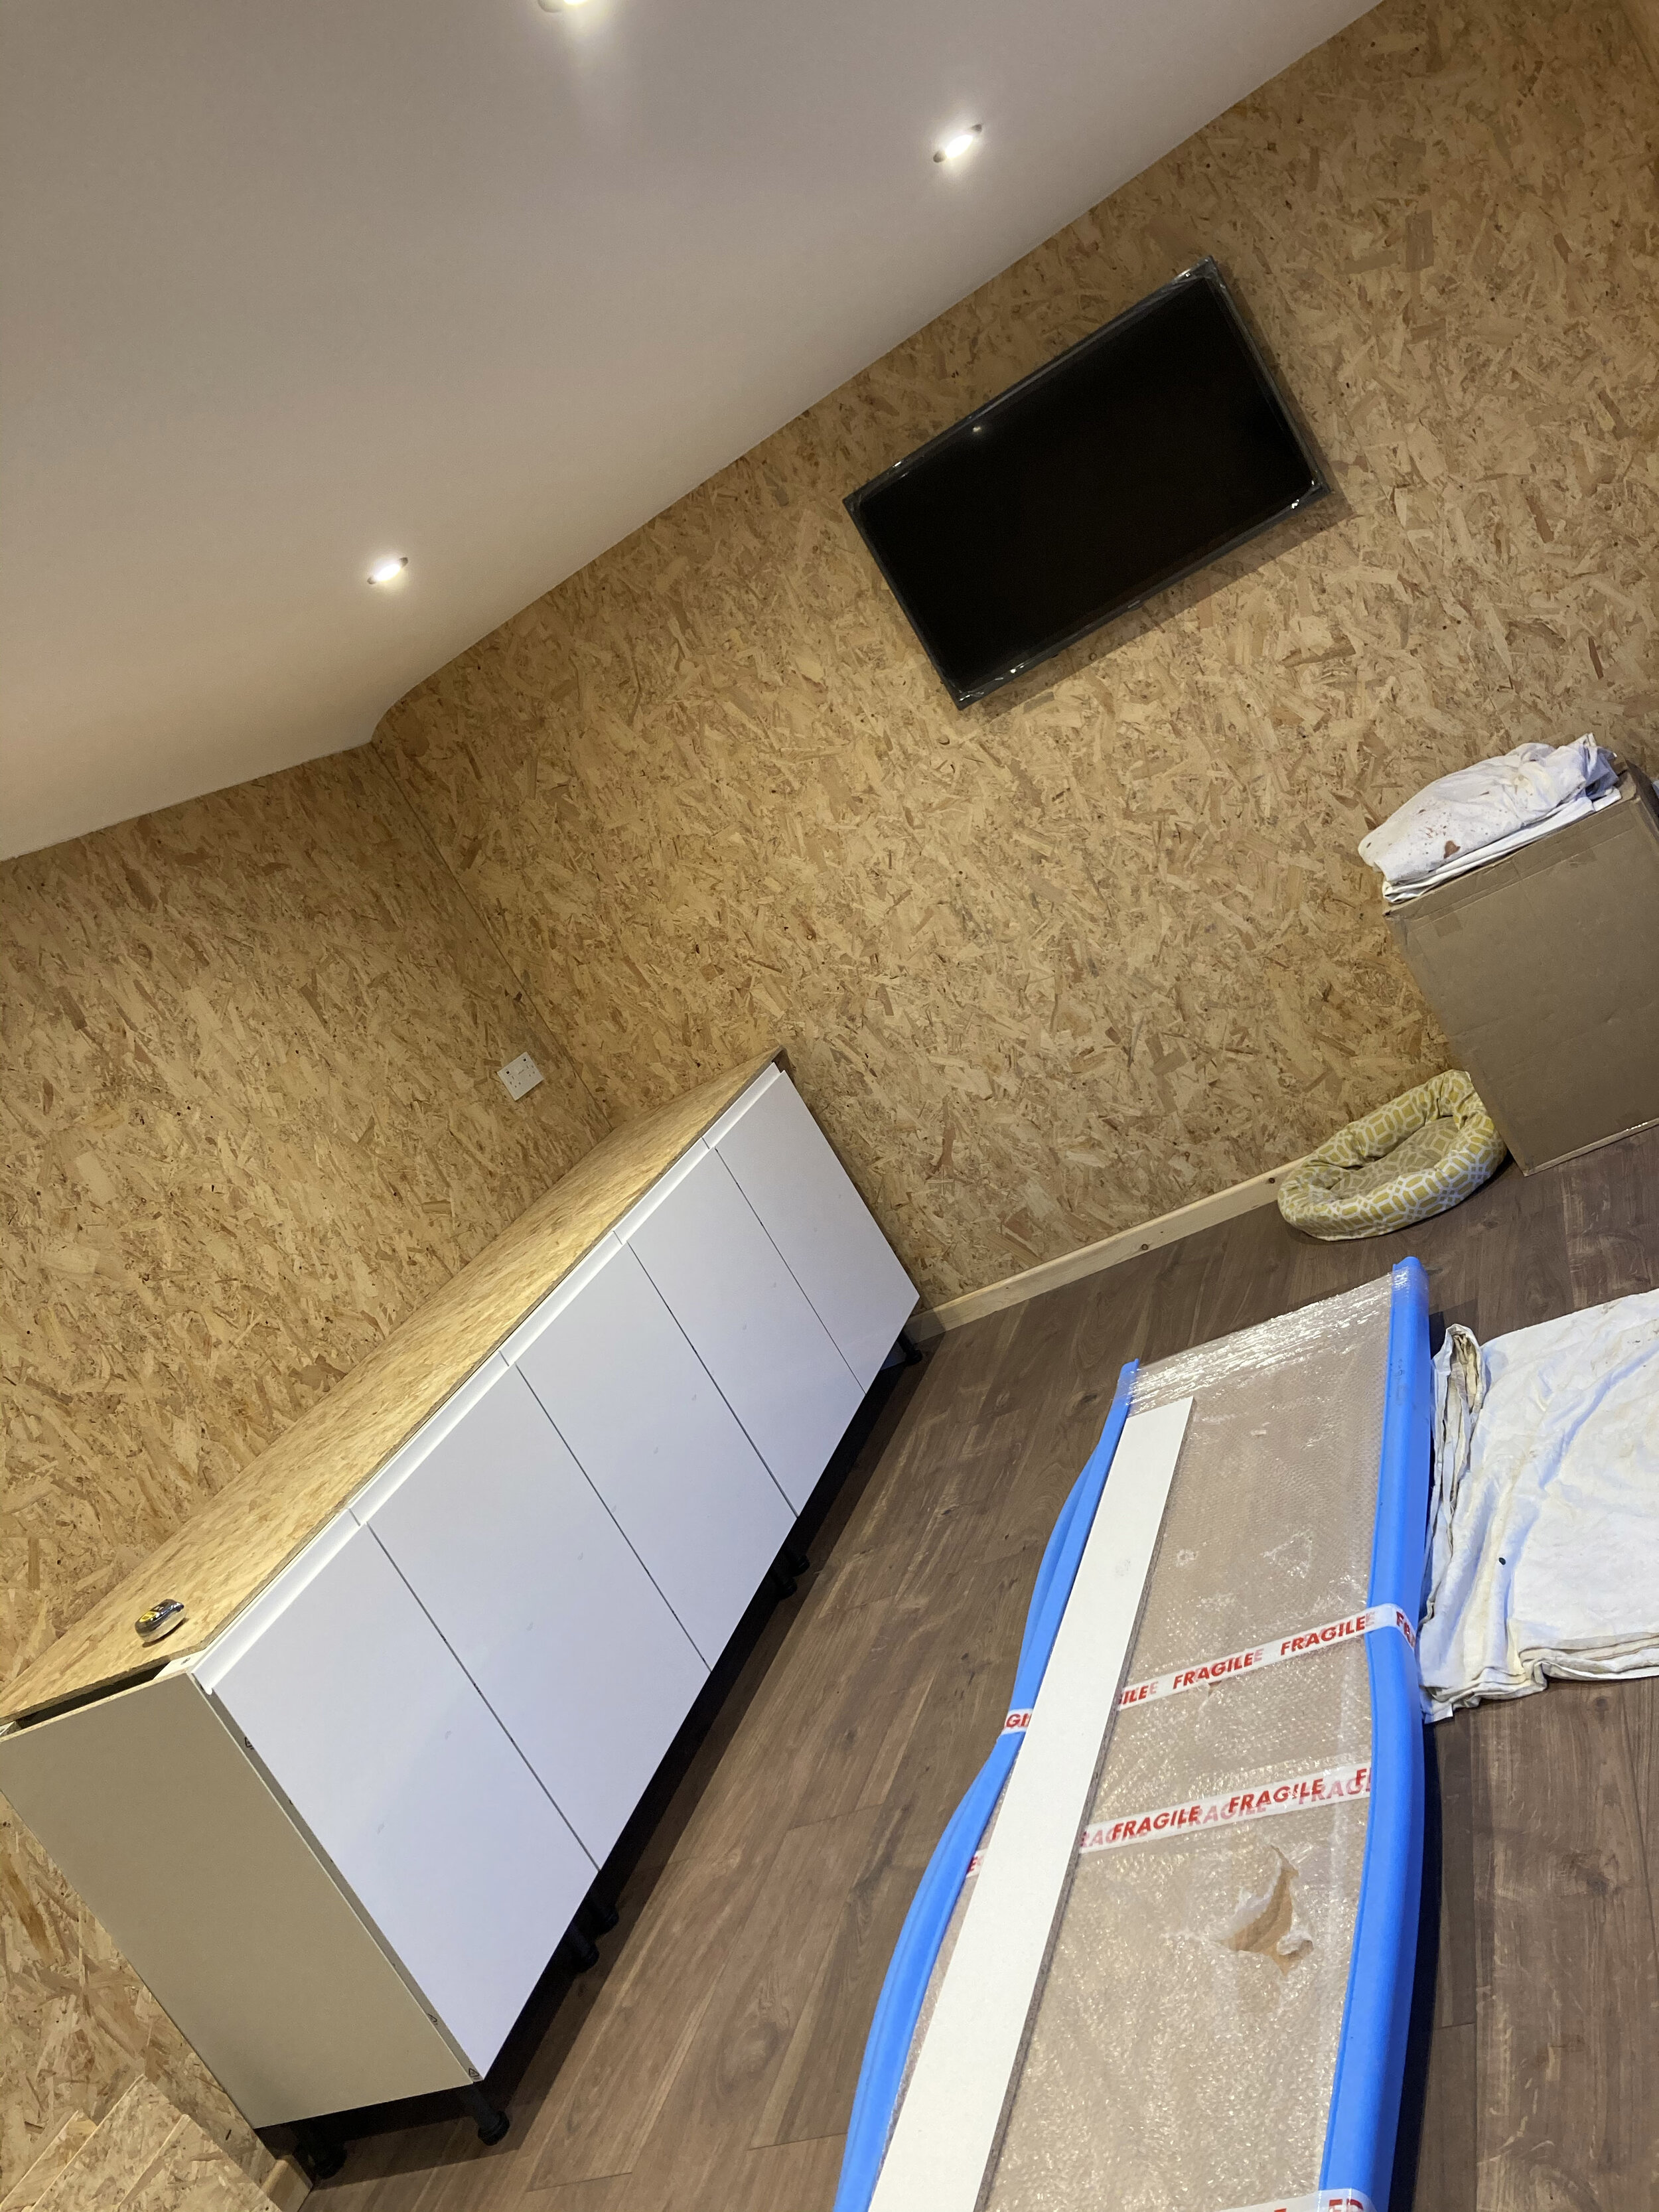
For my work area I wanted plenty of counter space for folding t-shirts, fitting graphics and packing up orders. I also wanted a desk space to work at for the designing of all said graphics and all my Sandbox products. Somewhere I could have a computer but still have space for drawing, painting etc. So I got some flat packed kitchen style cupboards from Wickes (other DIY shops are available) to line the wall and make a base for a nice work top as well as giving me plenty of storage space. I then hit up the guys at Mr Plastic in Norwich to source me a wood style work top to complete the area. Again I drafted in my uncle and Dad to fit the work top, and add a breakfast bart style desk to complete the whole thing. I mounted the 4k smart TV to the wall and the main fit out was done.
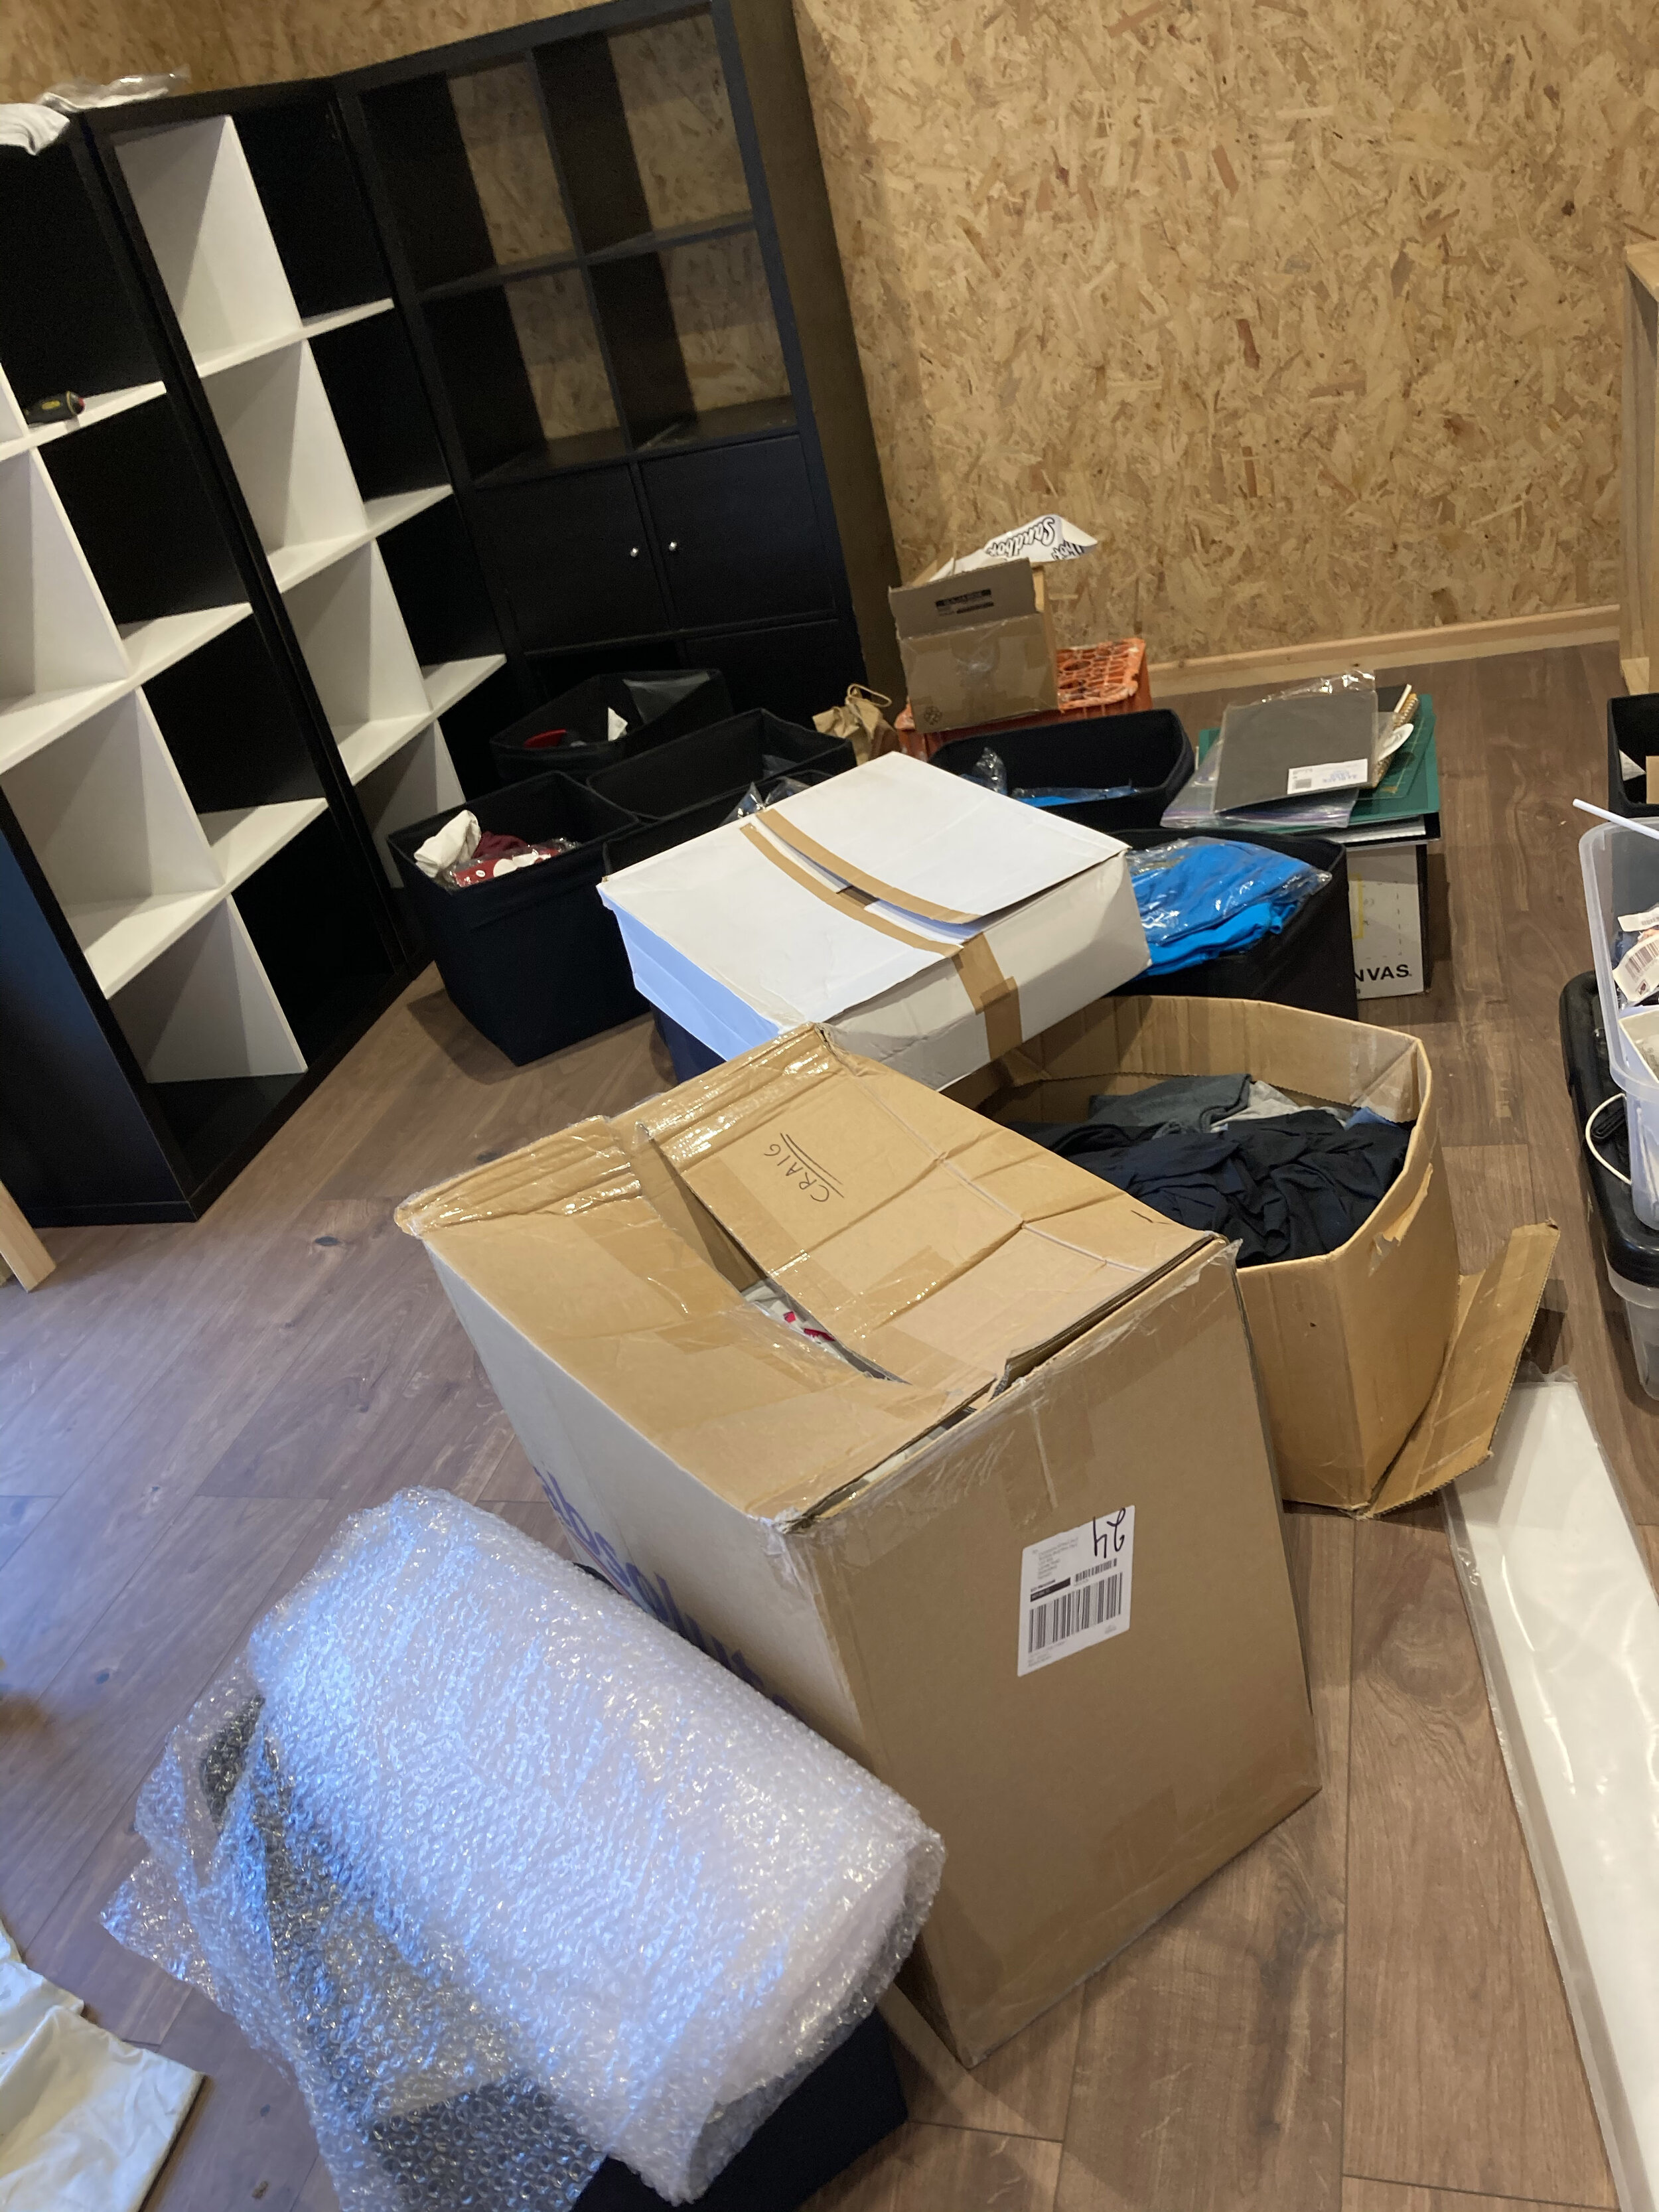
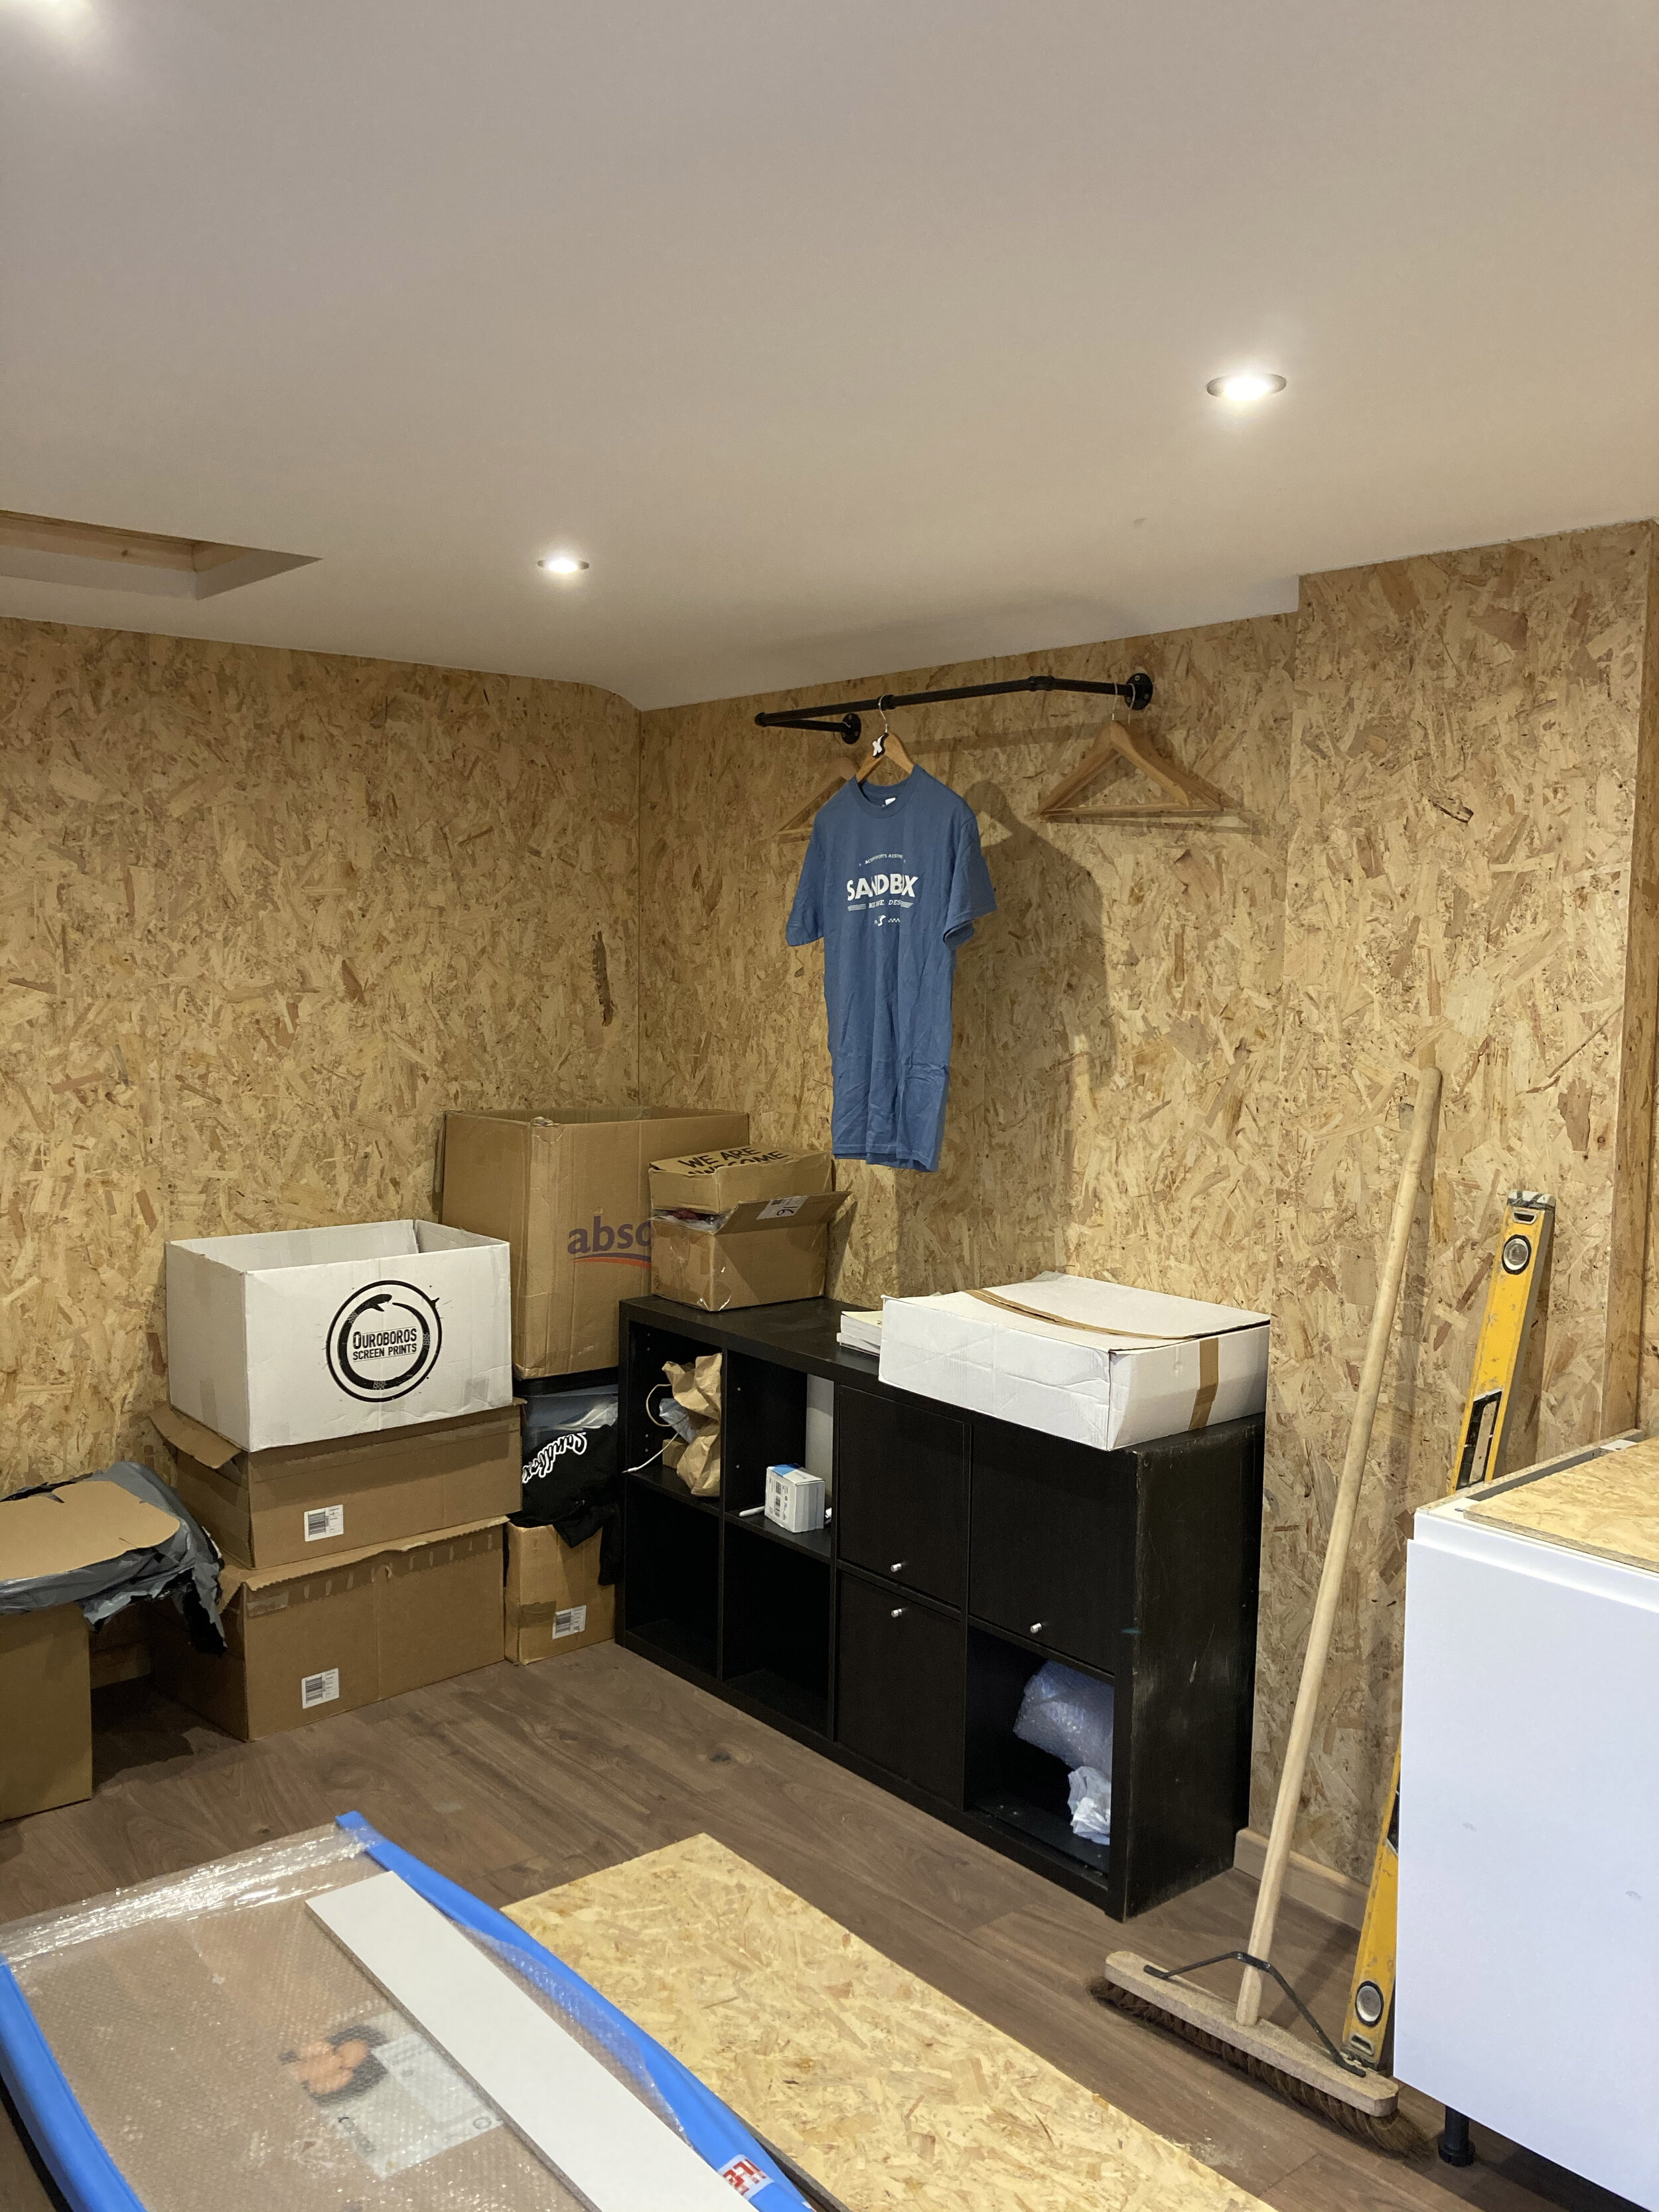

All that was left was furniture, so I moved my shelving racks down to the studio along with all my inventory and bits an pieces and began organising everything. I’ve got some cool art pieces to go on the wall and some cool motocross memorabilia to line the shelves. There are still a few finishing touches to be done but I’ve been able to work down here since the New Year started. I’ll give you a full video tour of the brand new Sandbox HQ once everything is finished and in its rightful place. Thanks to everyone who has helped out so far and thank you for reading.
Keep riding and keep smiling.
Craig.